

How Can I Backup My Contacts to Google Account?

Mar 07, 2022 • Filed to: Backup Data between Phone & PC • Proven solutions
Thanks to smartphones and the Contacts app, people no longer have to memorize phone numbers. They can simply add a number in their Contact list and access it anytime they want. But, what if your smartphone gets stolen. More than losing the phone itself, you’ll be bummed about losing all the contacts that you had saved for several years. And, reaching out to each person and asking them for their phone number again will be nothing but hectic.
So, what would be a better solution to protect your contacts? The answer is creating a backup and saving them in your Google account. Apart from many useful services, Google also allows users to back up their contacts and save them for the future. This way even if you end up losing your smartphone, you’ll be able to recover all the contacts without any hassle.
In today’s guide, we’re going to showcase a detailed procedure on how to save contacts to Google account so that you can access them from anywhere.
Part 1: How to save my contacts to Google account?
It’s worth noting that you can back up your contacts to a Google account on both Android and iOS. Also, once you sync your contacts with the Google account, all the new contacts will be automatically added and you won’t have to manually sync them at all.
Let’s walk you through the step-by-step procedure of syncing contacts to a Google account on both Android and iOS respectively.
- On Android Smartphone:
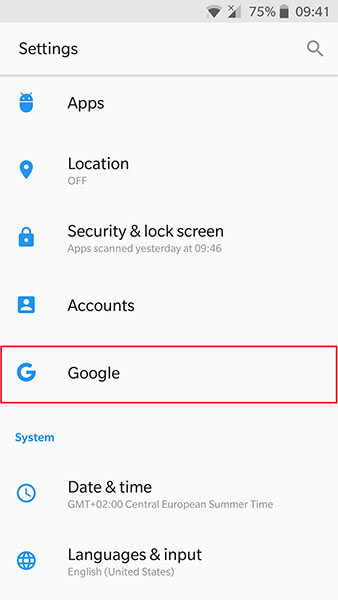
Step 1 - On your Android device, open “Settings”.
Step 2 - Scroll down and click on “Google”.
Step 3 - If you haven’t set up a Google account already, follow the on-screen instructions to do it.
Step 4 - In case you already have a Google account, simply click the “Account Services” option to proceed further.
Step 5 - Click “Google Contacts Sync” and tap on “Status”.
Step 6 - Toggle the switch to enable “Automatic Sync” for contacts.
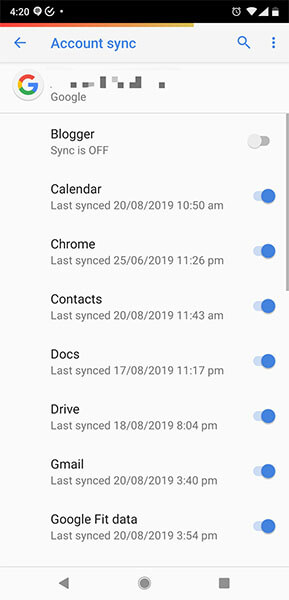
Once automatic sync is enabled, all your contacts will be backed up to Google Drive. Also, whenever you’ll add a new contact to your Android device, it’ll be saved to the Google account automatically.
- On iOS Devices:
On an iOS device, the procedure to backup contacts to a Google account is slightly different.
Step 1 - Open the “Settings” app on your iPhone or iPad.
Step 2 - Scroll down and click “Accounts & Password” and select “Add Account” > “Google”.
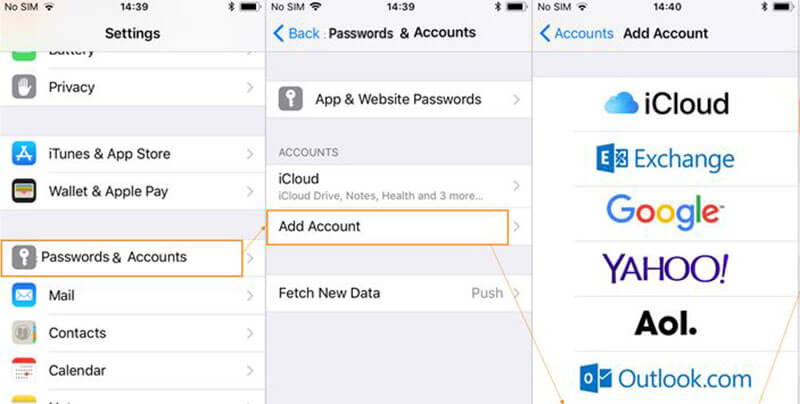
Step 3 - At this point, enter the credentials for the Google account that you want to use for saving contacts.
Step 4 - Once you’ve added your account, click “Next”.
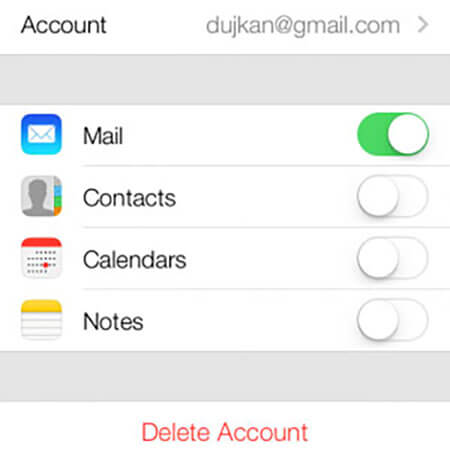
Step 5 - Toggle the switch “On” next to the “Contacts” option.
Step 6 - Click “Save” in the top right corner to apply the changes and launch the “Contacts” app to back up all the contacts.
That’s it; all the contacts in your iDevice will be synced with the Google account and you’ll be able to retrieve them anytime you want.
Part 2: Are there more ways to backup my contacts?
Yes, using Google account is only one of the methods to back up your contacts. There is a wide range of other methods you can choose to keep your contacts safe and secure. Let’s discuss each of these methods individually and help you pick one that’ll best suit your requirements.
1. Back-up Contacts to PC Using a Third-Party Application
One of the most convenient ways to back up contacts, apart from Google account, is to use a third-party app like Dr.Fone Phone Backup. It’s a feature-rich backup tool that’s specifically designed to allow users to backup their data (including contacts) to a computer.
With Phone Backup, you can create a backup for different types of files such as images, videos, songs, documents, etc. The tool supports selective backup as well, giving users the liberty to choose specific file-types they want to include in the backup.
For instance, if you only want to back up your contacts, you won’t have to go through the hassle of backing up the entire data from your smartphone. This is a suitable tool for users who are planning to install a system update on their mobile phone or add a new custom ROM.
In both these cases, the chances for data loss are slightly higher. That’s why, if you have saved a backup of your contacts on a PC, it would become easier to recover them in case things go south.
One of the major benefits of choosing Dr.Fone Phone Backup for backing up contacts is that the software is available for both iOS and Android. This means you can easily back up all your contacts, irrespective of the smartphone brand you’re currently using.
So, if you don’t want to backup contacts to a Google account, here’s how to use Dr.Fone - Phone Backup for iOS and Android respectively.
- Dr.Fone - Phone Backup (iOS)
Dr.Fone - Phone Backup (iOS) is one of the rare iPhone backup tools that supports the latest iOS 14. If you have already upgraded your iPhone to the latest version, you’ll be able to back up your contacts with Dr.Fone easily.
Follow these steps to use Dr.Fone to back up contacts from an iOS device and save them on a PC.
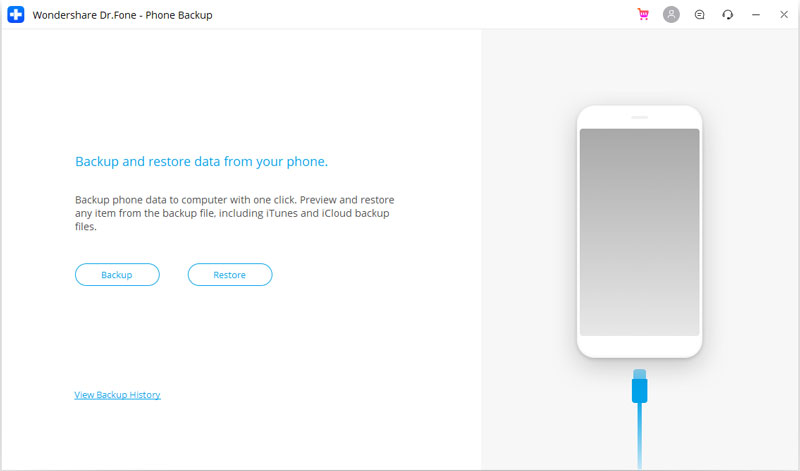
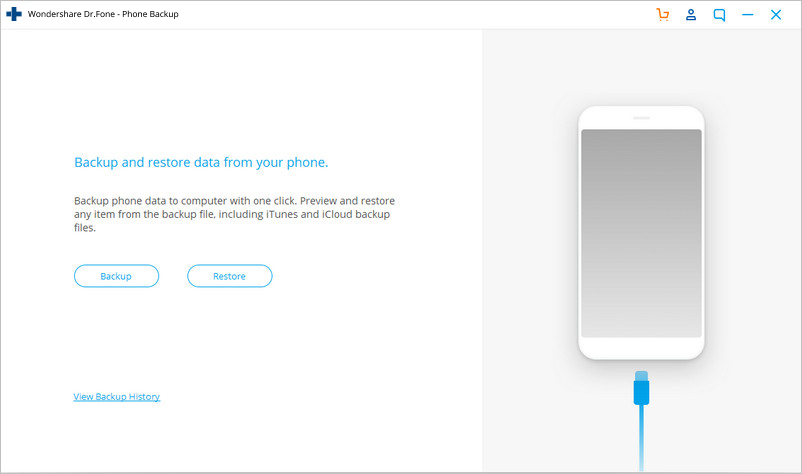
Step 1 After installing the software on your PC, launch it, and select the “Phone Backup” option on its home screen. Make sure to connect your iOS device to the PC using a USB cable.

Step 2 In the next screen, click “Backup” to continue with the process.
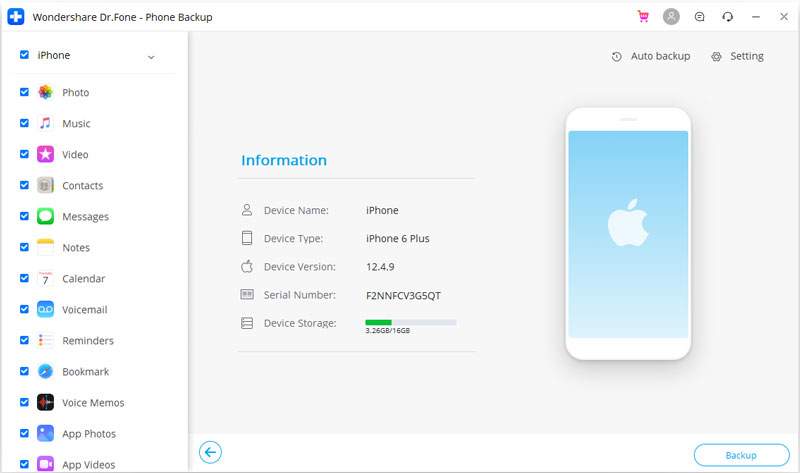
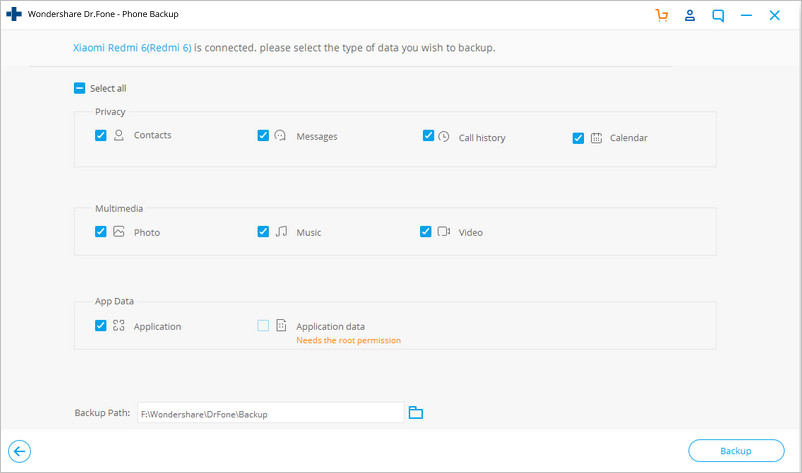
Step 3 Now, you’ll be asked to choose the file types that you want to include in the backup. Since we want to back up contacts only, click “Contacts” and tap the “Backup” button.
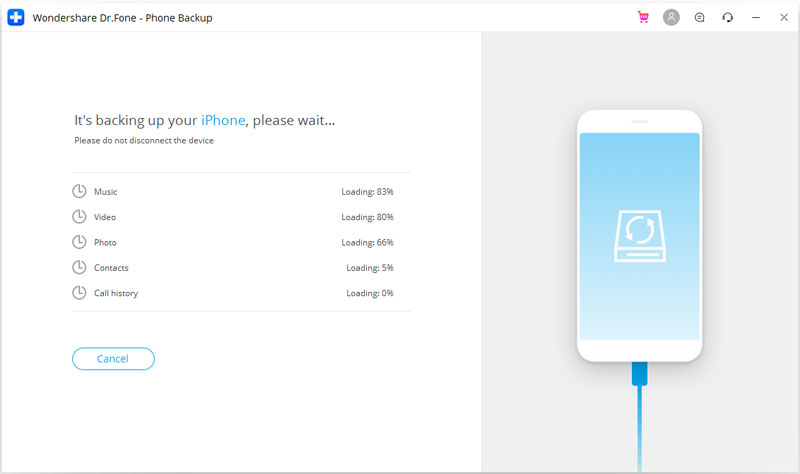
Step 4 Dr.Fone will start creating a backup file. Wait for a while as this process can take a few minutes to complete.
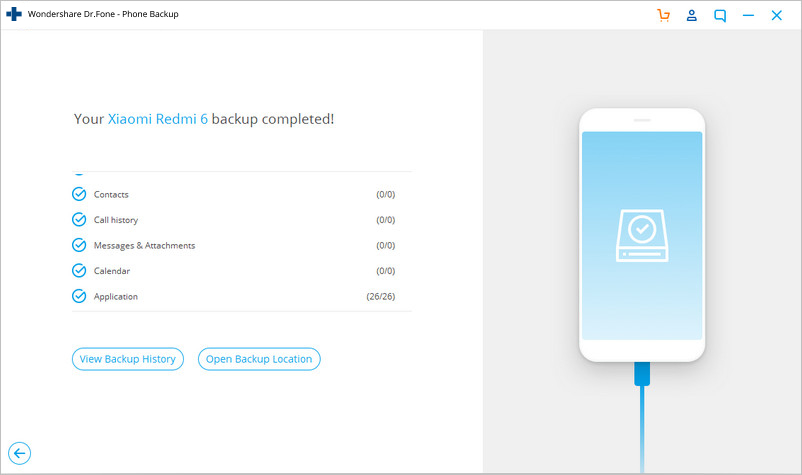
Step 5 After the backup is complete, you can tap on the “View Backup History” to check what files have been backed up.
- Dr.Fone - Phone Backup (Android)
The user interface for the Android version of Dr.Fone is exactly the same as that of iOS. However, you can also use the Android version to install an iCloud/iTunes backup on your Android smartphone.
Here’s the step-by-step procedure to create a backup of contacts using Dr.Fone on an Android smartphone.
Step 1 Launch the software on your PC and select “Phone Backup”.
Step 2 Connect your Android device to the computer and tap on “Backup”.
Step 3 Once Dr.Fone recognizes your device, select the file types that you want to include in the backup. Keep in mind that you can also add other file types such as pictures, videos, music, etc.
Step 4 After choosing the right file types, click the “Backup” button.
Step 5 Wait for Dr.Fone to create a backup for the selected files.

Step 6 Like earlier, tap the “View Backup History” to see what’s been included in the backup.
After the backup is successfully created, go ahead, and install the latest updates on your smartphone. When your phone is fully updated, you can again use Dr.Fone to restore the backup as well.
2. Backup Using an SD Card
If you don’t trust “cloud storage” and want to follow the traditional method, you can also create a backup for your contacts using an SD card or an external USB storage. Simply insert the SD card in your smartphone and follow the below-mentioned steps to create a backup.
Step 1 - Launch the “Contacts” app and click the “Menu” icon in the top-right corner.
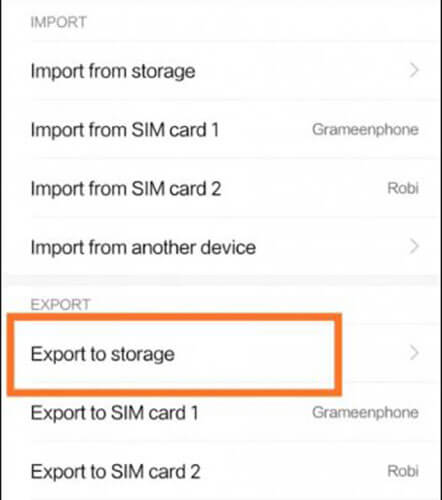
Step 2 - Click “Settings” and tap on the “Import/Export” option.

Step 3 - In the next screen, choose “Export” and select the location where you want to create the backup. In this case, the location would be “SD Card”.
That’s it; your contacts will be exported to the SD card successfully.
3. Backup Using a SIM Card
Some people also use SIM cards to store their contacts. This method will be extremely helpful if you’re switching to a new smartphone but will use the same SIM card.
Step 1 - Again, launch the “Contacts” app and go to “Settings”.
Step 2 - Click “Import/Export” and tap “Export”.
Step 3 - This time choose “SIM Card” as the target location.
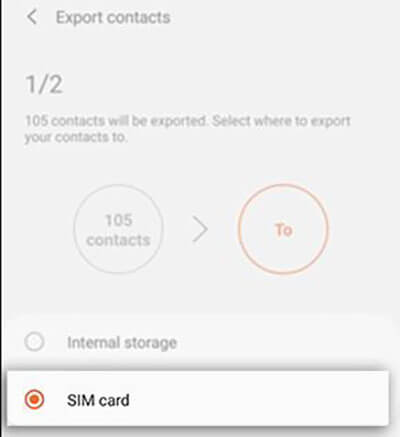
Wait for a couple of minutes and your contacts will be exported to the SIM card. Also, it’s worth noting that SIM cards have a limited storage space, which means they can only save a selected number of contacts. So, if you want to backup thousands of contacts, using a cloud backup would be the better option.
Conclusion
So, that concludes our guide on how to backup contacts to Google account. Follow these tricks and you’ll be able to keep all your contacts safe, even if you end up losing your smartphone. And, in case you’re looking to create a quick backup, simply use “Dr.Fone - Phone Backup” on your mobile phone and you’ll be able to get the job done in no time.


iPhone Backup & Restore
- Backup iPhone Data
- Backup iPhone Contacts
- Backup iPhone Text Messages
- Backup iPhone Photos
- Backup iPhone apps
- Backup iPhone Password
- Backup Jailbreak iPhone Apps
- iPhone Backup Solutions
- Best iPhone Backup Software
- Backup iPhone to iTunes
- Backup Locked iPhone Data
- Backup iPhone to Mac
- Backup iPhone Location
- How to Backup iPhone
- Backup iPhone to Computer
- iPhone Backup Tips
Alice MJ
staff Editor