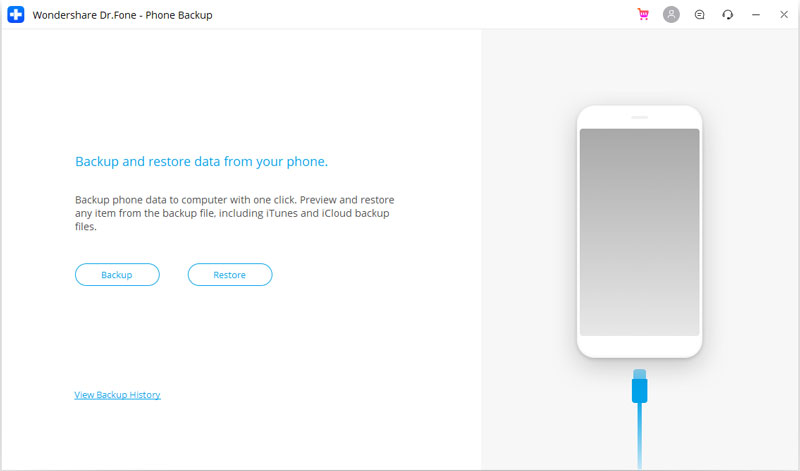
Backup & Restore iOS Data Turns Flexible
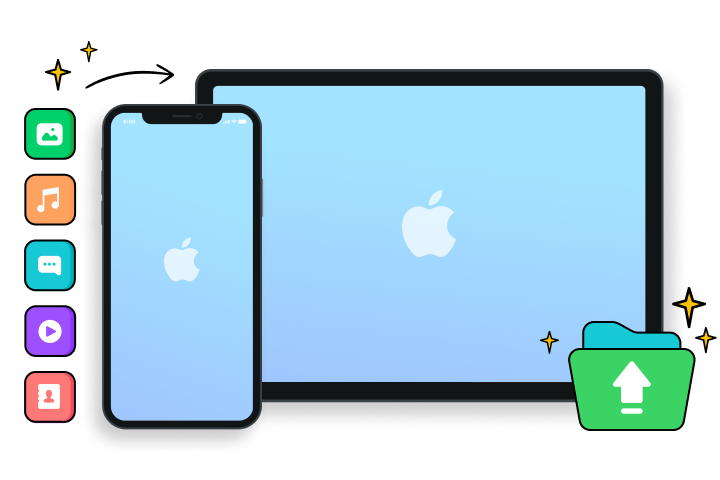
- · Backup iPhone/iPad/iPod touch automatically and wirelessly
- · Allow to preview and restore any item from the backup to iOS/Android devices
- · Restore iCloud/iTunes backups to iPhone/iPad selectively
- · No data loss on devices during transfer, backup and restore

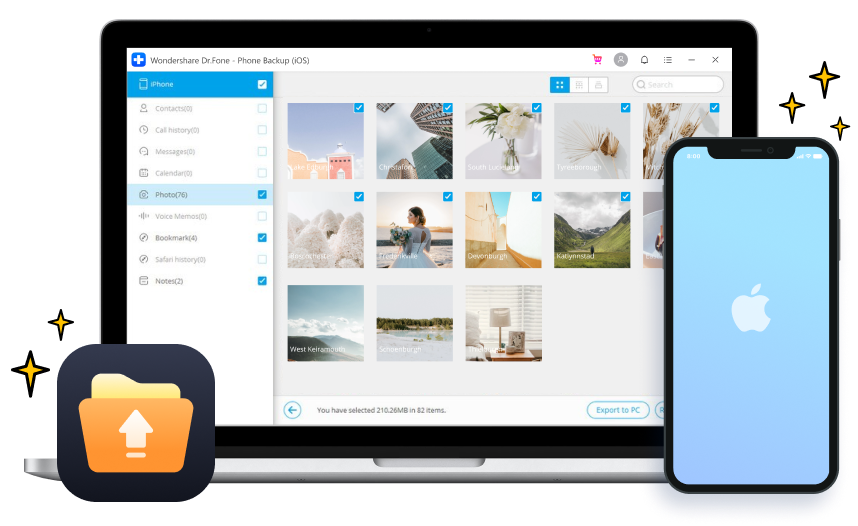
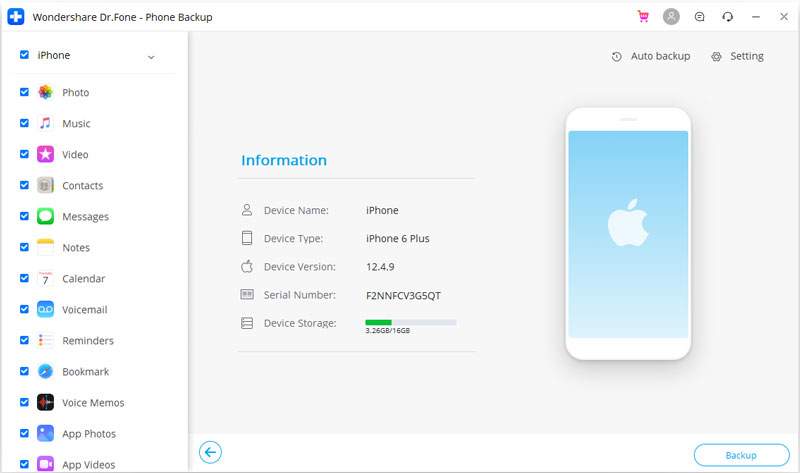
Backup iOS Devices Automatically and Wirelessly

Selective

Preview

Incremental restore
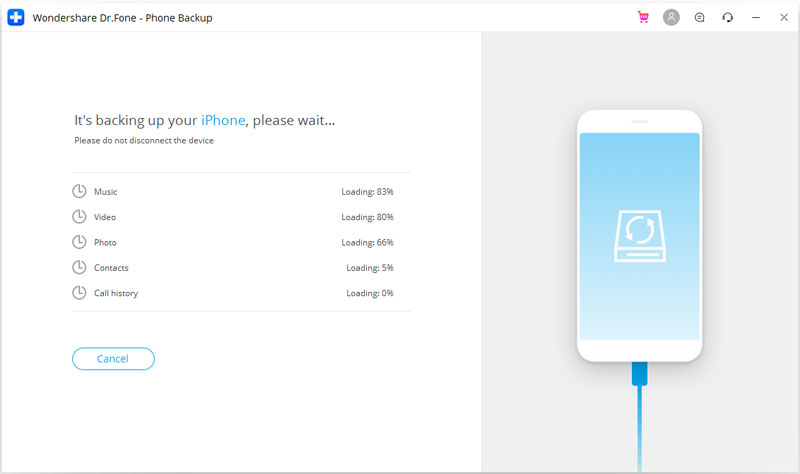
Backup Your Data Automatically and Wirelessly
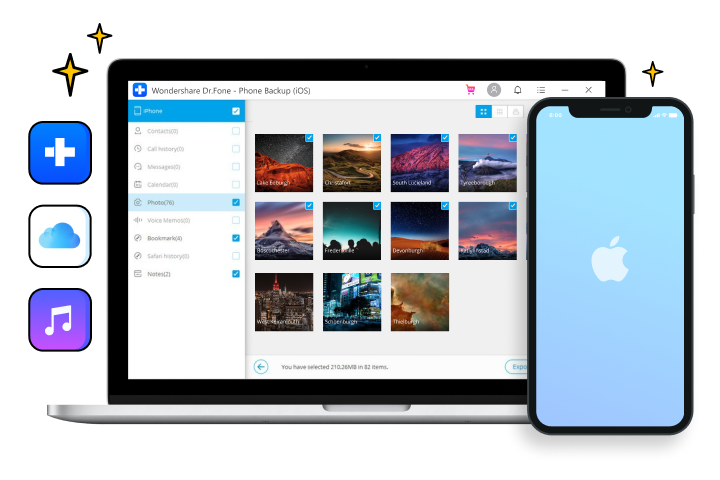
Restore Backup to Device Selectively
Tech Specs
CPU
1GHz (32 bit or 64 bit)
RAM
256 MB or more of RAM (1024MB Recommended)
Hard Disk Space
200 MB and above free space
iOS
iOS 15, iOS 14, iOS 13, iOS 12/12.3, iOS 11, iOS 10.3, iOS 10, iOS 9 and former
Computer OS
Windows: Win 11/10/8.1/8/7
Mac: 12 (macOS Monterey), 11 (macOS Big Sur), 10.15 (macOS Catalina), 10.14 (macOS Mojave), Mac OS X 10.13 (High Sierra), 10.12(macOS Sierra), 10.11(El Capitan), 10.10 (Yosemite), 10.9 (Mavericks), or 10.8 >
iOS Phone Backup FAQs
-
How do I back up iPhone using iTunes?
To backup iPhone/iPad using iTunes, just:
1. Make sure you have the latest version of iTunes on your computer.
2. Connect your iPhone to the computer. Tap Trust on your iPhone.
3. Hit the iPhone icon on the top left corner.
4. Go to the Summary tab. Select This Computer and hit Back Up Now to backup iOS devices using iTunes. -
What does iCloud backup include?iCloud only backs up the data on your iOS device. It doesn't back up the data already synced to iCloud, such as Contacts, Calendar, Bookmark, Mail, Voice Memos, iCloud photos, etc. If you've enabled Messages in iCloud, they are not included in your iCloud backup. So iCloud backup includes information like App data, Device Settings, Purchase history, Ringtones, Device Home screen, and App organization, Photos, Homekit configurations, etc.
To enable iCloud backup:
1. Connect your iOS device to a stable Wi-Fi network.
2. Go to Settings, tap iCloud > Backup.
3. Turn on iCloud backup, and tap Back Up Now. -
Can I restore only photos from iTunes backup?Yes, of course. Apple allows us to restore the whole backup to the iPhone, and most unfriendly, it erases all data we stored on the iPhone after the previous backup. So, to restore only photos from iTunes backup, we need the help of a third-party tool, like Dr.Fone - Phone Backup.
To restore only photos from iTunes backup,
1. Launch Dr.Fone on your computer and select Phone Backup.
2. Go to Restore from iTunes backup and select the backup file which stores your photos.
3. Connect your iPhone to the computer. Preview the photos in the iTunes backup and restore them to your iPhone in 1 click. -
Can you restore from iCloud without resetting?Жауап ИӘ. Қалпына келтірместен iCloud сақтық көшірмесінен қалпына келтіру үшін төмендегі қадамдарды орындаңыз.
1. Компьютерде Dr.Fone іске қосыңыз және «Сақтық көшірме жасау және қалпына келтіру» бөліміне өтіңіз.
2. iPhone телефонын найзағай кабелі арқылы компьютерге қосыңыз.
3. iCloud сақтық көшірмесінен қалпына келтіру опциясын таңдап, iCloud тіркелгісімен жүйеге кіріңіз.
4. Қалпына келтіргіңіз келетін iCloud сақтық көшірме файлын таңдап, «Жүктеу» түймесін басыңыз.
5. iCloud сақтық көшірме файлын алдын ала қарап шығыңыз және қалпына келтірместен iCloud-ты iPhone-ға қалпына келтіре бастаңыз.
iPhone сақтық көшірмесін жасау және қалпына келтіру
Деректеріңіздің сақтық көшірмесін автоматты түрде және сымсыз түрде жасаңыз және оларды икемді және қауіпсіз қалпына келтіріңіз.


Біздің тұтынушылар да жүктеп алуда

iPhone немесе iPad құрылғыңызда рұқсат кодын ұмытқан кезде кез келген iPhone құлыптау экранының құлпын ашыңыз.

IOS құрылғылары мен компьютерлер арасында контактілерді, SMS, фотосуреттерді, музыканы, бейнені және т.б. тасымалдаңыз.

iPhone, iPad және iPod touch құрылғыларынан жоғалған немесе жойылған контактілерді, хабарларды, фотосуреттерді, жазбаларды және т.б. қалпына келтіріңіз.