A Complete Guide to Format Your Android Phone
Mar 07, 2022 • Filed to: Fix Android Mobile Problems • Proven solutions
An Android phone is all fun due to the vast freedom we enjoy in it, unlike iOS. However, sometimes, users feel that they might want to sell their old device as they may be buying a new one, or probably exchanging a better one. Now before giving away your phone, it is a must that you remove all the accounts, passwords, and user data. The reason is that in today's world of digital communication, our smartphones have become the secret keepers of our personal and professional life. Whether it be personal photos, videos, contacts, financial information, or business emails and files, you cannot risk losing any information to an outsider at any cost. Now performing a factory reset on the phone might be a good idea but not a foolproof one as information saved in your phone can still be traced if the buyer is technically sound.
Here comes formatting your phone, in the sense that deleting your accounts, passwords completely from the phone, so that no one can access any information that was stored even in the backup files. Now before you think of formatting your phone, the first and foremost thing to do would be backing up the data.
Let us get to know more about it in the next section.
Part 1: Backup data before formatting Android phone
Option 1: Using Google Account
PHOTOS & VIDEOS: Open the google photos app and at the bottom, tap Photos. All the photos that aren’t saved will have an icon of a struck out cloud.
Now to turn on backup and sync or off, open the google photos app and on the top left corner, you’ll find a menu, click it. Select Settings>Backup & Sync. And at the top, switch it on or off.
FILES: Upload the necessary files to Google Drive. Open the Google Drive App and tap on the “+” symbol to add and tap Upload. Choose from the list of files you need to create a backup for.
MUSIC: Download and install the Music Manager App. Open the application from the menu (PC). After signing in to your Google account select the location of where you keep your music files and follow the instruction on the screen.
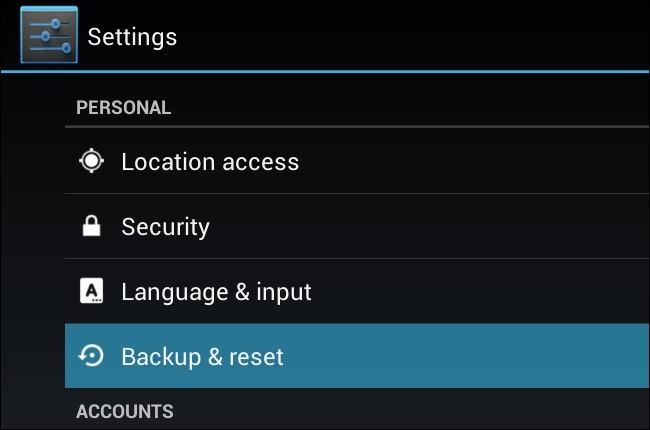
BACKUP DATA WITH ANDROID BACKUP SERVICE: In the settings menu of your device tap on the ‘Personal’ option and tap ‘Backup & Reset’. Click on ‘Backup My Data’ and switch it on.
To restore your backed up data, open your settings menu, and tap on Personal>Backup & Reset> Automatic Restore.
Option 2: Backup using the Dr.Fone - Phone Data:
Alternatively, there is another option available from Dr.Fone - Phone Data (Android) to give users a very easy experience to back up and restore Android data with one click.
After installing the software on your PC, you only need to connect your smartphone with Data Cable and the app automatically detects all your data. Then you would only have to select the data you want to take backup and click on “Back up”. This one-click process gives you a total backup option just in few minutes.
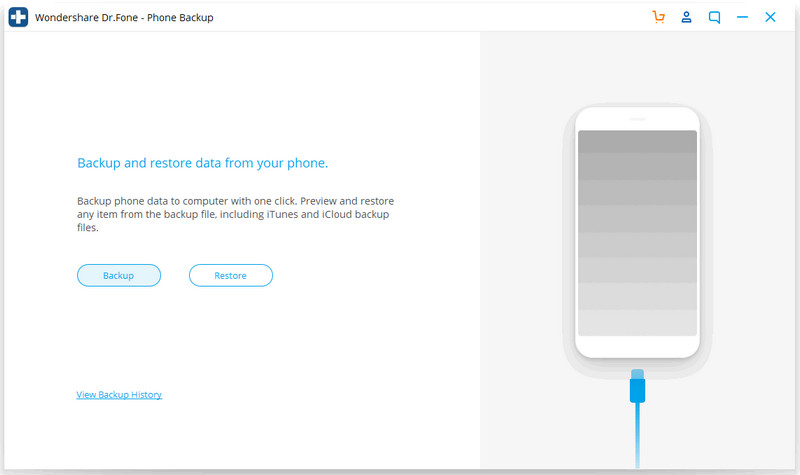
If you want to restore the data, just connect your device when the Toolkit is running and you can see an option to “Restore” from your Backup data. You can even select some of the files you require from the total backup.

Dr.Fone - Phone Backup (Android)
Flexibly Backup and Restore Android Data
- Selectively backup Android data to the computer with one click.
- Preview and restore a backup to any Android device.
- Supports 8000+ Android devices.
- There is no data lost during backup, export, or restore.
It is the simplest method to back up and restore any android device in the market. Just try its seamless and effortless feature to experience its vast workability and see the difference.
Part 2: How to format Android phone via factory reset
To reset the phone by Factory Reset, you should follow the below steps -
1. Look for the ‘Reset” option on the settings. Sometimes, it could be under the “security” menu or the “about” menu.
2. Then, scroll down to the “factory Data Reset” and tap on it.
It will ask for your confirmation to delete all the data from the device. Just press “Reset Phone” to proceed with the action.
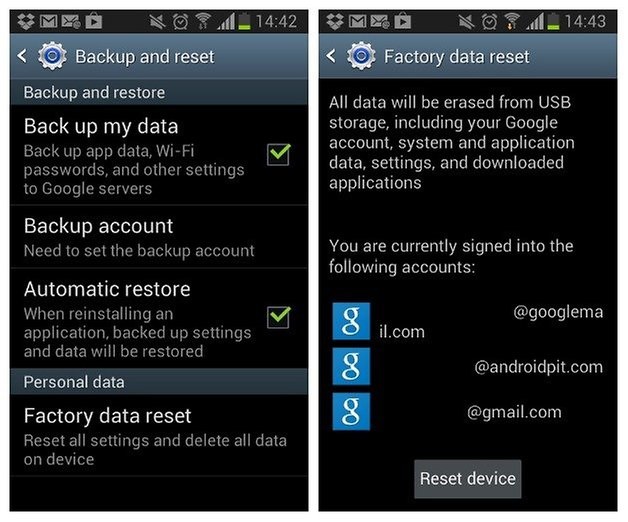
During the whole process, your device may restart a few times. After some time, your device will be reset successfully and you should get a confirmation for the same on the screen.
Part 3: How to format Android phone in recovery mode
If you can’t execute a normal factory reset like when your phone won’t switch on properly, you can reset it through Recovery mode.
First, ensure that your device is fully shut down. Press and hold the correct combination of keys to start the phone in recovery mode. This can be different from device to device.
Nexus: Volume up + Volume Down + Power
Samsung: Volume up + Home + Power
Motorola: Home + Power
If your device is not responding to the above combinations just google search the combination for your phone.
Leave the buttons when your device is switched on.
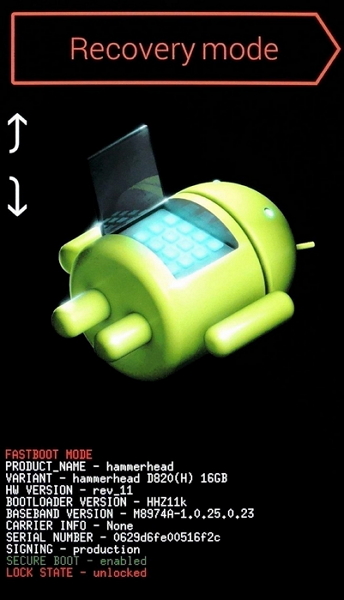
Use the Volume Up and the Volume Down buttons to navigate through. And, scroll down until you see the Recovery Mode.
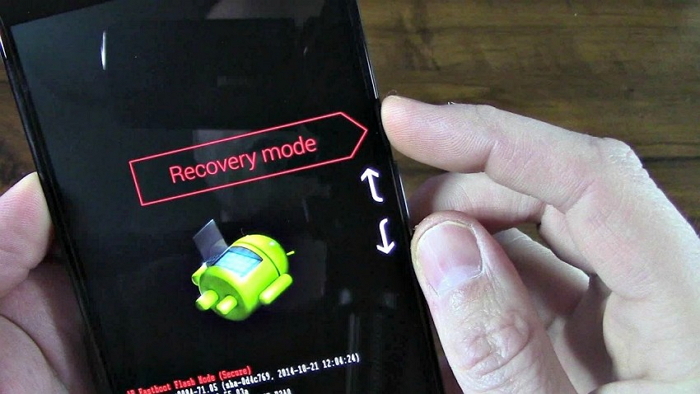
Press the power switch to start through recovery mode. Your screen will be like the bottom image.
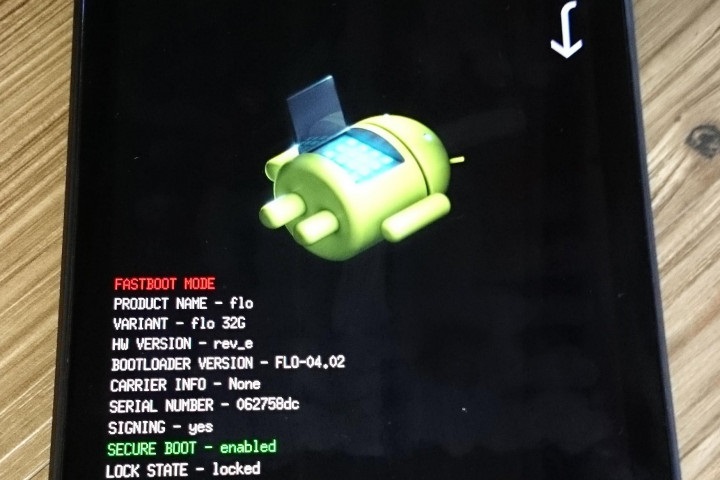
Hold the power button now and keep tapping the Volume Up button. Then a screen pops up.
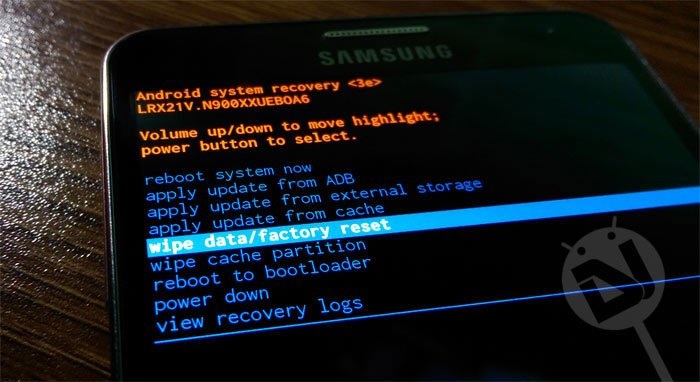
Go to the wipe data/factory reset option using the volume buttons and click the power button to accept it. After that, select “Yes” to erase all the data.
NOTE: IF YOUR DEVICE FREEZES AT ANY POINT JUST HOLD THE POWER BUTTON UNTIL IT RESTARTS. If your problems aren’t corrected even after a factory reset it’s likely to assume that the problem is with the hardware and not the software.
Part 4: How to format Android phone from PC
The third process to format your device is with your PC. It required a PC and a connection between both of them via USB.
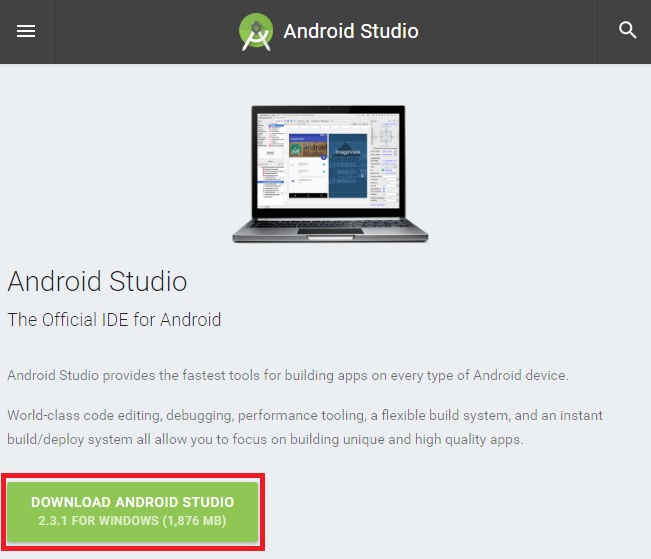
Step 1: Click on the link and download it. After the download is completed right-click the ZIP file and click ‘extract all’. Tap the browse option and choose your ‘C:\ProgramFiles’ directory.
Step 2: Rename the extracted file folder to ‘AndroidADT’. (Just to read it and access it quicker)
Step 3: Now after the previous step right-clicks ‘Computer’ in the file browser and choose Properties>Advanced System Settings>Environment Variables.
Step 4: In the System, variable window click Path>Edit. Press ‘END’ to move the cursor to the end of the selection.
Step 5: Type ‘;C:\Program Files\AndroidADT\sdk\platform-tools\’ and make sure that you type the semicolon in the beginning, after this click okay to save your changes.
Step 6: Open CMD.
Step 7: Connect your Android phone to your PC. Type ‘adb shell’ in cmd and press ENTER. Once the ADB is connected type ‘—wipe_data’ and press enter. After this, your phone will restart and restores the Android to factory settings.
Now, you have successfully reset your device using a PC.
Therefore, we have discussed three methods to format or factory reset your android device. Although the first process is the easiest, in certain cases, you might have to look for the other options too. Kindly follow the steps thoroughly and format your device with ease.
Reset Android
- Reset Android
- 1.1 Android Password Reset
- 1.2 Reset Gmail Password on Android
- 1.3 Hard Reset Huawei
- 1.4 Android Data Erase Software
- 1.5 Android Data Erase Apps
- 1.6 Restart Android
- 1.7 Soft Reset Android
- 1.8 Factory Reset Android
- 1.9 Reset LG Phone
- 1.10 Format Android Phone
- 1.11 Wipe Data/Factory Reset
- 1.12 Reset Android without Data Loss
- 1.13 Reset Tablet
- 1.14 Restart Android Without Power Button
- 1.15 Hard Reset Android Without Volume Buttons
- 1.16 Hard Reset Android Phone Using PC
- 1.17 Hard Reset Android Tablets
- 1.18 Reset Android Without Home Button
- Reset Samsung


James Davis
staff Editor