

How to Transfer Videos or Movies from iPad to Mac

Apr 27, 2022 • Filed to: Backup Data between Phone & PC • Proven solutions
When referring to watch TV shows, movies, playing games, or enjoy any other types of videos, the iPad always gives us the leading experience than other tablets with its high resolution and quality. iPad delivers a wonderful function for many people like saving their movies on iPad for enjoyment on the go. In case that there is a shortage of space on your iPad or if you wish to keep your memorable videos stored on other devices for backup, you can consider transferring videos from iPad to Mac. The following guide will show you how to get the work done easily.
Part 1. How to Transfer Videos or Movies from iPad to Mac with Image Capture
It is essential to transfer videos from iPad to Mac, either for backup, or further editing. However, you might have found iTunes can’t support you to do it. iTunes can’t operate it because it is one-way transfer software that can only transfer videos from Mac to iPad. In this case, if you really want to transfer videos from iPad to Mac effectively, you can choose to use the Mac software Image Capture instead. Below given are the steps to transfer videos from iPad to Mac using Image Capture.
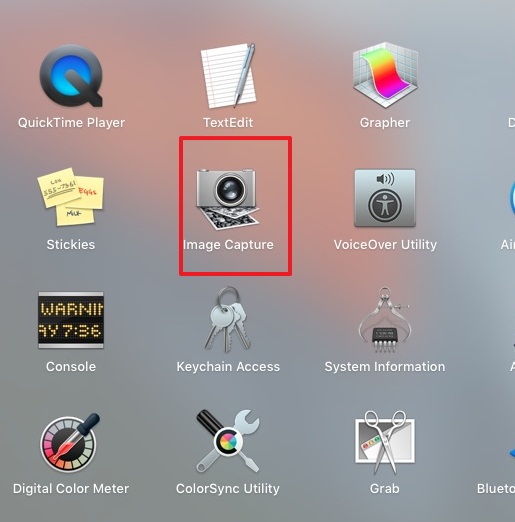
Step 1. Connect iPad to Mac and Open Image Capture
Using a USB cable, connect iPad to Mac and then open Image Capture on your Mac computer. This program is pre-installed on all Mac computers.
Step 2. Select iPad on Image Capture
Select the iPad as your device on the left side of the panel and the list of all images and videos present on your iPad will now be visible on the right side of the panel.
Step 3. Select the Desired Video
From the given list of videos, select the one that you wish to transfer to your Mac. Below given screenshot shows 1 selected video and then press "Import".

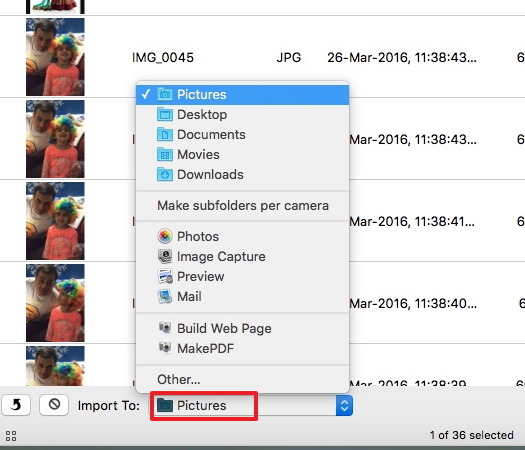
Step 4. Select the Target Folder
Select the folder on Mac where you wish to save the selected video. Below given screenshot shows "Pictures" as the selected folder.
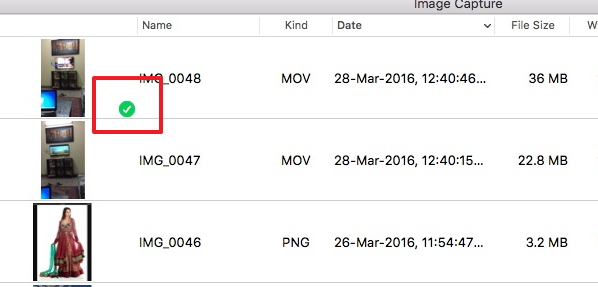
Step 5. Transfer Videos
Once the video is successfully transferred, a tick mark will display in at the right bottom of the thumbnail.
With the help of Image Capture on your Mac computer, you are able to import iPad videos to your Mac computer with ease.
Part 2. How to Transfer Videos from iPad to Mac with Dr.Fone
Besides Image Capture on Mac, third-party software can also be used to transfer movies from iPad to Mac and one of the best options to do this is Dr.Fone - Phone Manager (iOS). This software can be used to transfer playlists, videos, and other data between iOS devices, iTunes, and PC. The key features of this software are introduced below:
Dr.Fone - Phone Manager (iOS)
Transfer MP3 to iPhone/iPad/iPod without iTunes
- Transfer, manage, export/import your music, photos, videos, contacts, SMS, Apps, etc.
- Backup your music, photos, videos, contacts, SMS, Apps, etc. to computer and restore them easily.
- Transfer music, photos, videos, contacts, messages, etc from one smartphone to another.
- Transfer media files between iOS devices and iTunes.
- Fully compatible with iOS 7 to iOS 13 and iPod.
Note: Please note that Both Windows and Mac versions of Dr.Fone are available for help. If you are a Windows user, you can duplicate the process. The following guide is about how to transfer videos from iPad to Mac with the Mac version.
How to Transfer Videos from iPad to Mac with Dr.Fone
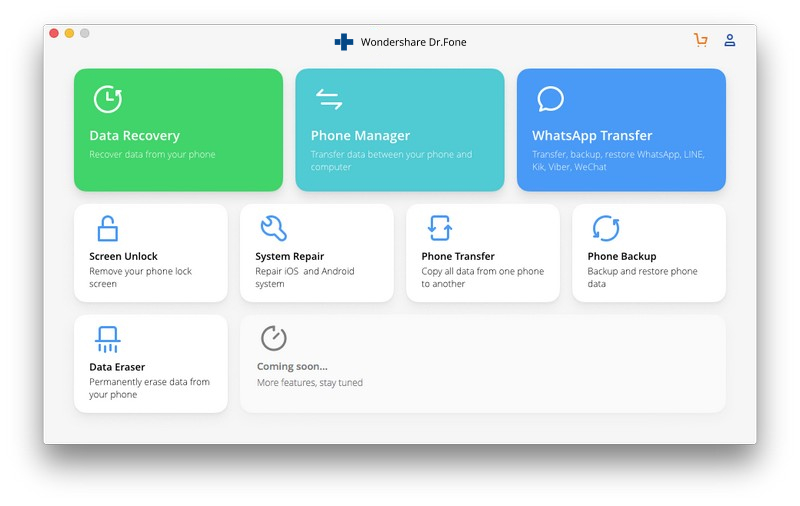
Step 1. Start Dr.Fone on Mac
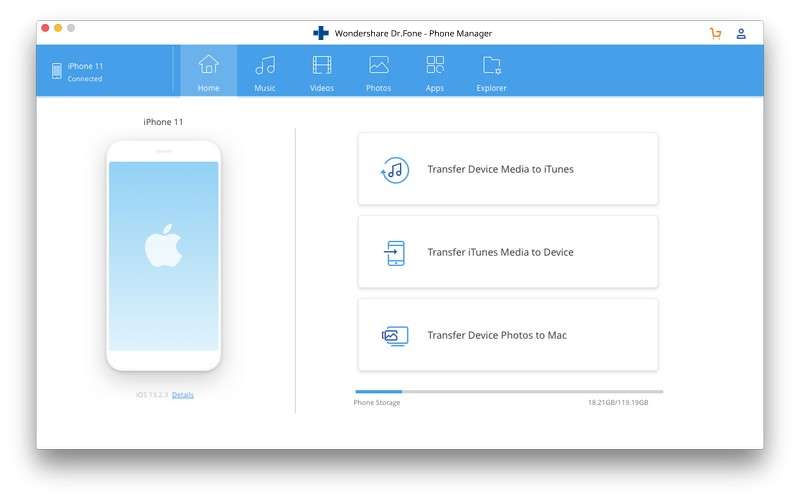
Download and install Dr.Fone on your Mac. Run Dr.Fone and select "Phone Manager". The program will ask you to connect your iOS device to the computer with the USB cable.
Step 2. Connect iPad with your Mac
Connect iPad to Mac using a USB cable, and the program will automatically recognize the device. Then you'll see different file categories at the top of the software window.
Step 3. Find Videos
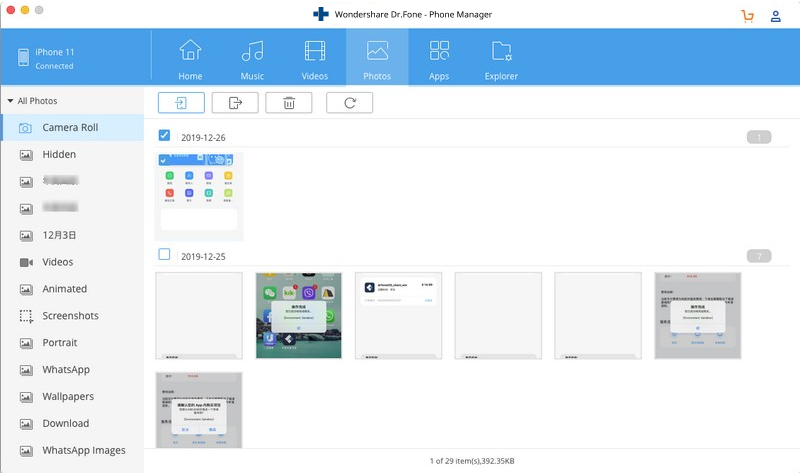
Choose the Videos category in the main interface, and the program will show you the sections of video files, along with the video files in the right part. You can select the section which contains the videos you want to transfer in the left sidebar.
Step 4. Click the Export Button
Now you can check the videos you want to transfer, and click the Export button in the software window, and choose Export to Mac in the drop-down menu.
Step 5. Export Videos from iPad to Mac
After choosing Export to Mac, the program will show you a pop-up dialog. Choose a target folder on your Mac computer, and click Save. Then the program will start transferring videos from iPad to Mac.
Note:Temporarily does not support to transfer media file from phone to Mac running on macOS 10.15 and later.
When the transfer finishes, you'll get the videos in the target folder on your Mac. The program will provide you more options to manage your iPhone, iPad, or iPod. If you are interested in this software, you can free download it to have a try.


iPad Tips & Tricks
- Make Use of iPad
- iPad Photo Transfer
- Transfer Music from iPad to iTunes
- Transfer Purchased Items from iPad to iTunes
- Delete iPad Duplicate Photos
- Download Music on iPad
- Use iPad as External Drive
- Transfer Data to iPad
- Transfer Photos from Computer to iPad
- Transfer MP4 to iPad
- Transfer Files from PC to iPad
- Transfer Photos from Mac to ipad
- Transfer Apps from iPad to iPad/iPhone
- Transfer Videos to iPad without iTunes
- Transfer Music from iPad to iPad
- Transfer Notes from iPhone to iPad
- Transfer iPad Data to PC/Mac
- Transfer Photos from iPad to Mac
- Transfer Photos from iPad to PC
- Transfer Books from iPad to Computer
- Transfer Apps from iPad to Computer
- Transfer Music from iPad to Computer
- Transfer PDF from iPad to PC
- Transfer Notes from iPad to Computer
- Transfer Files from iPad to PC
- Transfer Videos from iPad to Mac
- Transfer Videos from iPad to PC
- Sync iPad to New Computer
- Transfer iPad Data to External Storage
Daisy Raines
staff Editor