How to Backup iPhone/iPad/iPod in DFU Mode?

Apr 27, 2022 • Filed to: Fix iOS Mobile Device Issues • Proven solutions
We all know about DFU Mode in iPhone/iPad/iPod but do you know how to get out of it? In this article we have for you two different ways to exit DFU Screen and how to backup iPhone in DFU Mode in easy and simple steps.
DFU Backup must be performed before exiting DFU Mode on iPhone/iPad/iPod to keep your data secure just in case it gets lost during the entering or exiting DFU Mode.
So let us proceed and see how we can backup iPhone in DFU Mode with and without causing loss of data.
Read on and know more.
Part 1: Get iPhone out of DFU Mode
Once your iPhone gains access to DFU Mode and you’ve done what you needed to do with it, its time to get out of DFU Mode and then move on to DFU Backup. In this segment, we have for you two effective ways to exit the DFU Screen.
Method 1. Using Dr.Fone - System Repair (iOS) (without losing data)
Using Dr.Fone - System Repair (iOS) is the best and most reliable way to get out of DFU Mode on an iPhone/iPad/iPod. It can repair any iOS device and regain its normal functioning by fixing system failure and other issues such as blue screen of death, locked device, frozen device and many another type of errors. The software keeps your data safe and prevents data hacking/loss. Also, its interface is easy to use and very intuitive. Since it works on Windows and Mac, both, the software can be used at home.
Dr.Fone - System Repair (iOS)
Fix iOS system issues without data loss!
- Simple, safe and reliable!
- Fix with various iOS system issues like DFU mode, recovery mode, white Apple logo, black screen, looping on start, etc.
- Works for all models of iPhone, iPad and iPod touch.
- Fully compatible with Windows 10 or Mac 10.11, iOS 10 and iOS 9.3.


We have listed down the steps that are required for you to get your iPhone out of DFU Mode:
Run Dr.Fone software on a PC and select “System Repair” on the homepage.

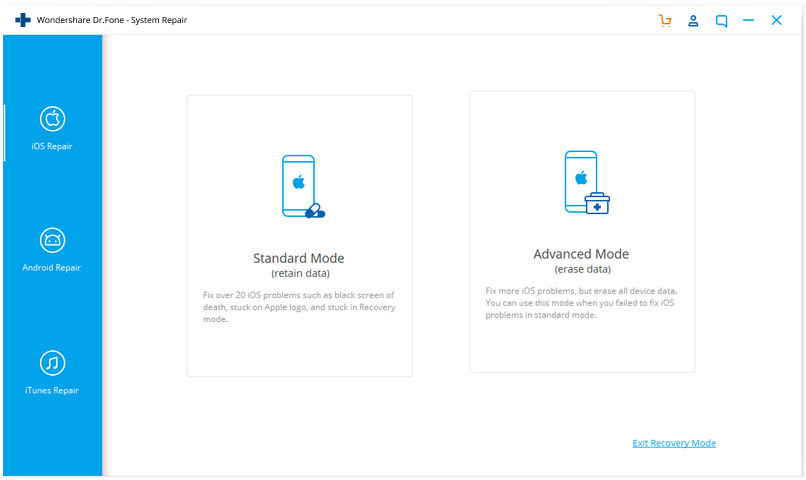
Connect iPhone/iPad/iPod to PC and wait till the software recognizes it and then hit “Standard Mode” to next screen.
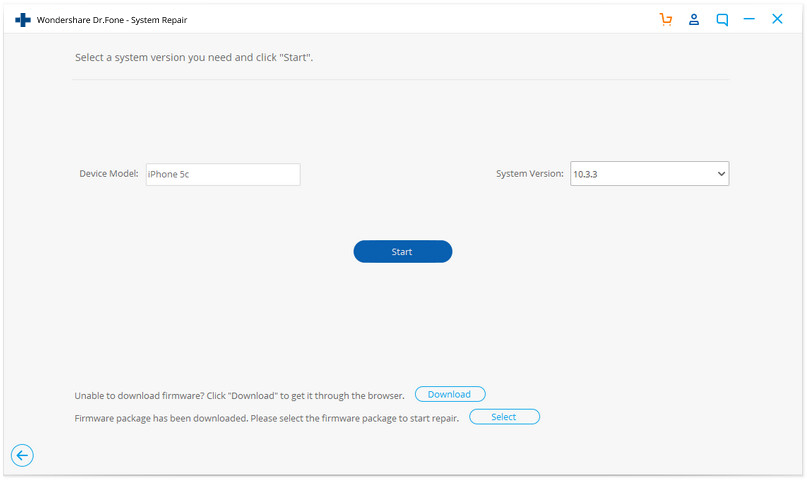
Now the most appropriate firmware for your iPhone/iPad/iPod is to be installed. Feed in the details on the system recovery screen and click “Start”.
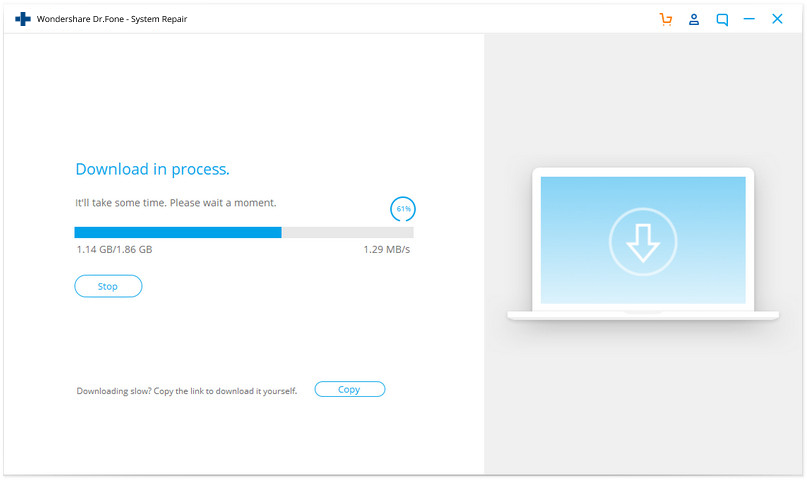
You can now view the status of the firmware download process as shown in the screenshot below.
The downloaded firmware will start installing on your iPhone/iPad/iPod. This process is also known as repairing your iOS device.
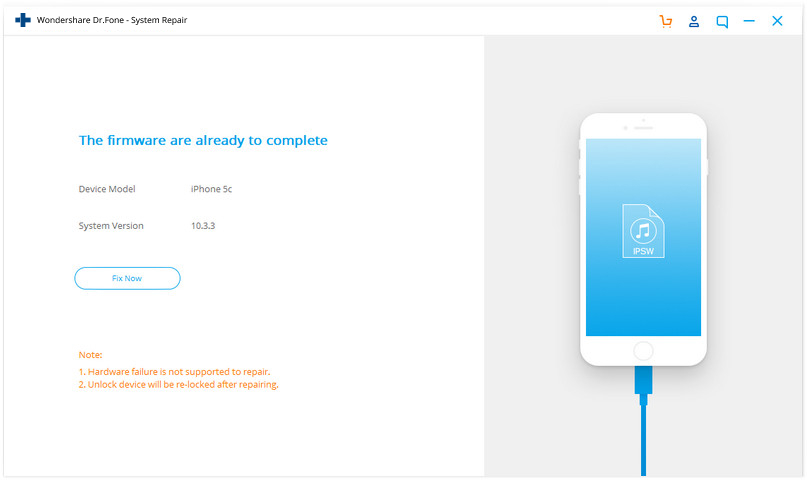
Once Dr.Fone - System Repair (iOS) finishes its task, your iOS device will automatically reboot and come out of DFU Mode.
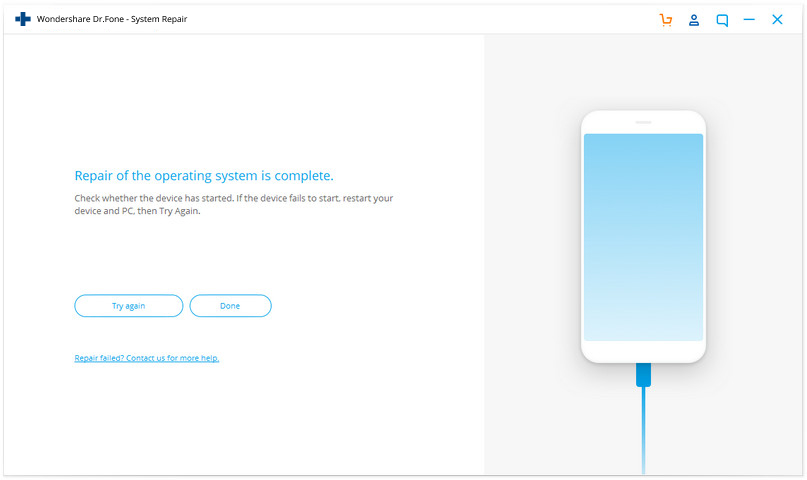
As mentioned earlier, using Dr.Fone - System Repair (iOS) is extremely simple and does not lose your data.
Method 2. Trying Hard Reset (data loss)
This is a crude way of getting your iPhone/iPad/iPod out of DFU Mode but works effectively and is preferred by many iOS users. It involves using iTunes which is a software specially designed to manage iOS devices. The steps given below will be instrumental to get your iOS Device out of DFU:
Connect DFU iPhone/iPad/iPod to your PC which has iTunes installed on it. iTunes will recognize your device.
Now press the Power On/Off button and Home Key (or Volume down key) simultaneously for ten seconds or so.

Once you release all the buttons, gently press the Power On/Off button again and wait for iPhone/iPad/iPod to restart automatically and exit DFU Screen.
This process sounds simple but causes data loss. Thus, we need a backup iPhone in DFU Mode software to protect our data. Stay tuned because we have the best DFU backup & restore tool for you.
Part 2: Backup iPhone data after exiting DFU Mode( via Dr.Fone- iOS Data Backup & Restore)
Dr.Fone toolkit- iOS Data Backup & Restore is the most effective DFU backup tool to backup iPhone in DFU Mode and then restore data in a hassle-free manner. It provides a flexible platform to back up data and then selective restore it to the iOS device or to PC. It can DFU backup contacts, messages, call logs, notes, photos, WhatsApp, App data and other files. This software can be run on Windows/Mac and supports iOS 11 too. Its process is 100 % safe as it only reads data and causes no risk to it. Its intuitive interface guides you all along and does the job within seconds.
Dr.Fone toolkit - iOS Data Backup & Restore
Backup & Restore iOS Data Turns Flexible.
- One click to backup the whole iOS device to your computer.
- Allow to preview and restore any item from the backup to a device.
- Export what you want from the backup to your computer.
- No data loss on devices during the restore.
- Selectively backup and restore any data you want.
- Supported iPhone 7/SE/6/6 Plus/6s/6s Plus/5s/5c/5/4/4s that run iOS 10.3/9.3/8/7/6/5/4
- Fully compatible with Windows 10 or Mac 10.12/10.11.
Here are the steps that you can follow to backup iPhone in DFU Mode and then restore the beaked up data:
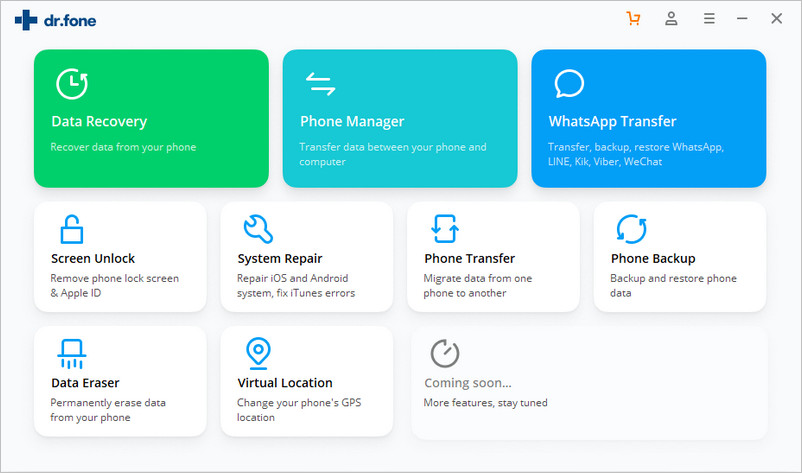
Step 1. Download, install and launch Dr.Fone toolkit on your PC. Choose “Data Backup & Restore” at the homepage and connect iPhone/iPad/iPod to the PC.
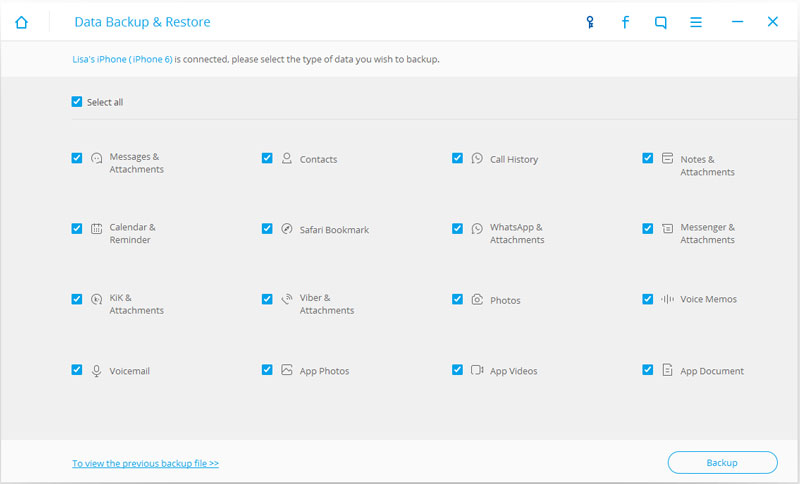
Step 2. The next step is that the iOS Data Backup & Restore toolkit will itself retrieve all the data saved on your iOS device and bring forth it before you. Choose the file types to be backed up and hit “Backup”.
Step 3. The Dr.Fone toolkit- iOS Data Backup & Restore will now start backing up the selected data and you will be able to view the backup process on the screen.

Step 4. Now that the backup has finished, the files will be categorized and displayed on the screen as shown below.
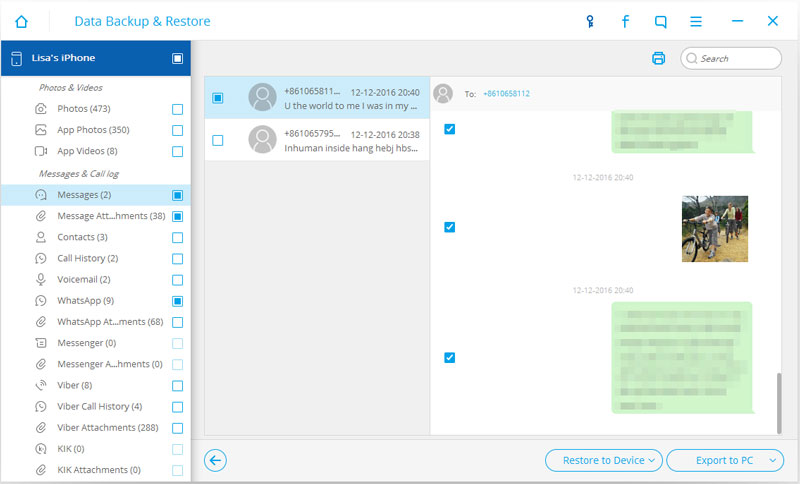
Step 5. You can preview your backed up file contents and choose the data which you wish to restore to iPhone/iPad/iPod and hit “Restore to device”.
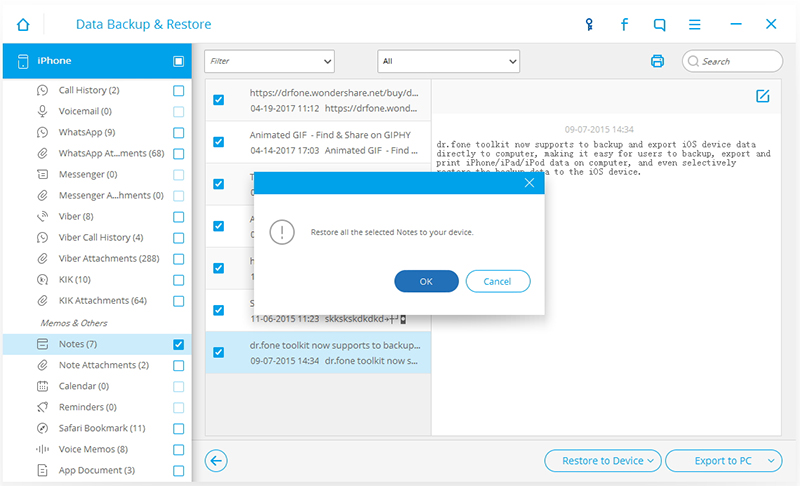
You may also refer to the article to restore the backed up data to another iOS device.
DFU backup process is made simpler with the help of iOS Data Backup & Restore toolkit. The best part about using this software is that it keeps your data safe, prevents data loss and guarantees a safe backup and restoration process.
So whenever you want to backup iPhone in DFU Mode, remember to use Dr.Fone toolkit because not only does its iOS System Recovery feature get your iPad out of DFU Mode safely but its iOS Data Backup & Restore feature also keeps your data protected at all times.
Go ahead and download Dr.Fone toolkit (iOS version) now!


iPhone Frozen
- 1 iOS Frozen
- 1 Fix Frozen iPhone
- 2 Force Quit Frozen Apps
- 5 iPad Keeps Freezing
- 6 iPhone Keeps Freezing
- 7 iPhone Froze During Update
- 2 Recovery Mode
- 1 iPad iPad Stuck in Recovery Mode
- 2 iPhone Stuck in Recovery Mode
- 3 iPhone in Recovery Mode
- 4 Recover Data From Recovery Mode
- 5 iPhone Recovery Mode
- 6 iPod Stuck in Recovery Mode
- 7 Exit iPhone Recovery Mode
- 8 Out of Recovery Mode
- 3 DFU Mode
Alice MJ
staff Editor
Generally rated4.5(105participated)