

4 Ways to Backup Photos and Pictures on Galaxy S9/S20【Dr.fone】

Mar 21, 2022 • Filed to: Tips for Different Android Models • Proven solutions
Samsung S9/S20 have one of the best cameras of the recent times. If you have also got an S9, then you must be using it to click amazing pictures. Though, it is also important to backup photos on S9/S20 to make sure your data won’t be lost unexpectedly. Just like any other Android device, S9/S20can also be corrupted. Therefore, you should take Galaxy S9/S20 backup photos to Google, Dropbox, or any other preferred source regularly. In this guide, we will teach you four different ways to take Galaxy S9/S20 photo backup.
Part 1: Backup Galaxy S9/S20 photos to computer
Take the assistance of Dr.Fone - Phone Manager (Android) to backup photos on S9/S20 without any trouble. It is a complete device manager that will let you transfer your data between S9/S20 and computer or S9/S20 and any other device. You can move your photos, videos, music, contacts, messages, and so much more. Since it provides a preview of your files, you can selectively backup your photos to your PC. If you want, you can backup an entire folder as well. It is an extremely easy-to-use application that does not require any prior technical experience. To perform Galaxy S9/S20 photo backup, simply perform these simple steps:
Dr.Fone - Phone Manager (Android)
Transfer Photos from Samsung S9/S20 to Computer for Backup
- Transfer files between Android and computer, including contacts, photos, music, SMS, and more.
- Manage, export/import your music, photos, videos, contacts, SMS, Apps etc.
- Transfer iTunes to Android (vice versa).
- Manage your Android device on computer.
- Fully compatible with Android 10.0.
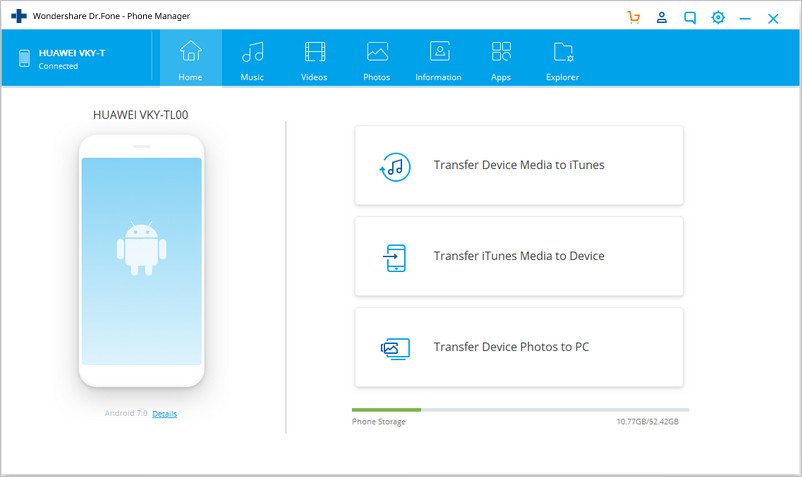
1. Launch the Dr.Fone toolkit on your system and go to the “Phone Manager” section. Connect your device to the system and wait for it to be detected.

2. On the home screen of Dr.Fone - Phone Manager (Android), you will get an option to transfer device photos to PC. If you want to transfer all your photos in one go, then simply click on it.
3. To manage your photo manually, you can visit the “Photos” tab. Here, all the photos saved on your S9/S20 will be listed under different folders. You can switch between these categories from the left panel.
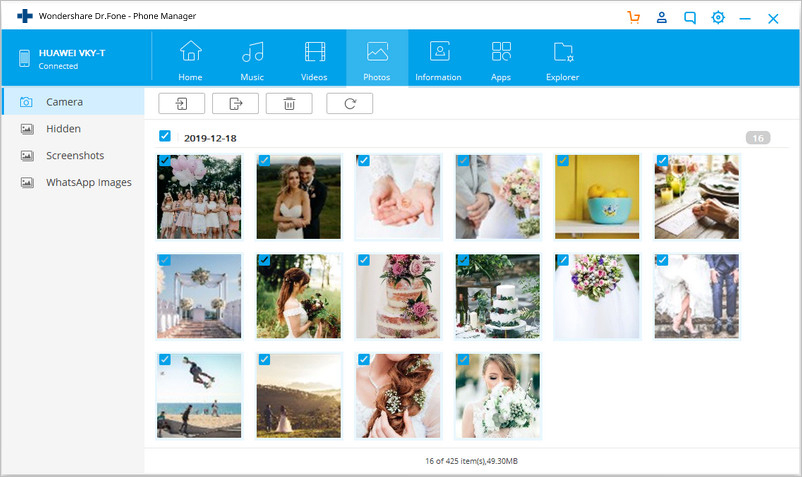
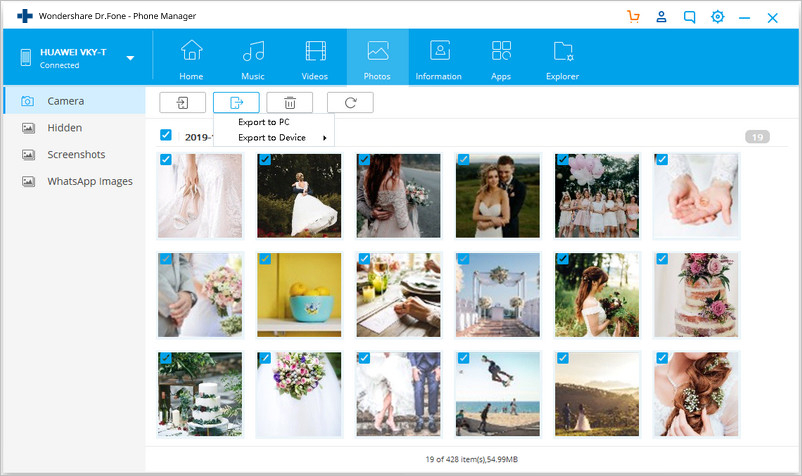
4. To backup photos on S9/S20, select the photos on the interface. You can make multiple selections as well. Now, click on the export icon and choose to export these photos to PC.
5. If you want to export an entire folder, then right-click it and select the “Export to PC” option.
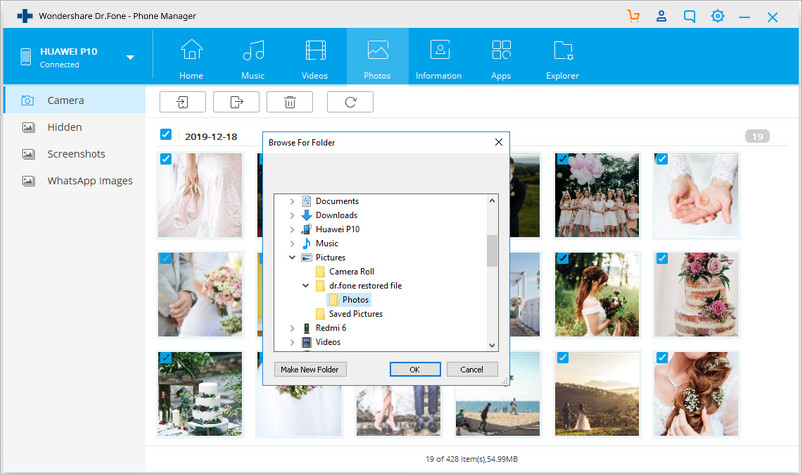
6. This will launch a pop-up window where you can select the location to save your Galaxy S9/S20 photo backup.
7. Once you will click on the “Ok” button, your selected photos will be copied to the respective location.
Besides transferring your photos, you can also move your videos, music, contacts, messages, and more. It can also be used to add content from PC to your S9/S20 as well.
Part 2: Backup photos on S9/S20 to PC via File Explorer
Apart from Dr.Fone, there are other techniques to backup photos on S9/S20. If you want, you can simply copy the content from your device to your computer via its file explorer. Unlike iPhone, Android phones can be used as a USB device, which makes it easier for us to perform Galaxy S9/S20 photo backup.
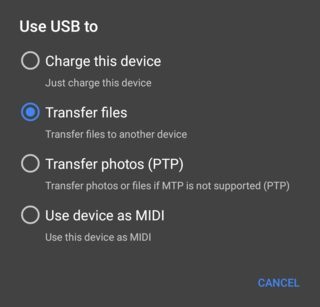
Firstly, connect your S9/S20 to your system using a USB cable. Unlock your device and select how you wish to establish the connection. You can select PTP to transfer photos or MTP to transfer media files (and access its file explorer).
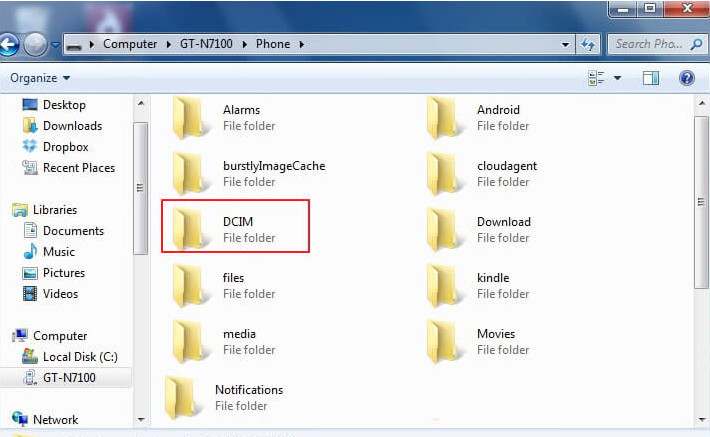
Afterward, just launch the file explorer and open the device storage. Mostly, your photos will be stored in the DCIM folder. To backup photos on S9/S20, simply copy the content of this folder and save them on a secure location on your PC.
Part 3: Backup Galaxy S9/S20 to Google Photos
As you know, every Android device is linked to a Google account. You can also sync your G9/S20 with your Google account to take Galaxy S9/S20backup photos to Google. Google Photos is a dedicated service by Google that provides an unlimited storage for your photos and videos. Besides taking a Galaxy S9/S20 backup photos to Google, you can also manage them as well. The photos can be accessed on your device or by visiting its website (photos.google.com).
1. Firstly, launch the Google Photos app on your device. If you don’t have it, then you can download it from Google Play Store right here.
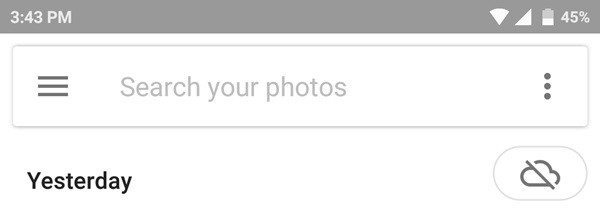
2. Once you will launch the app, the photos saved on your device will be displayed. You will also get an option to backup your photos. If it is not on, then tap on the cloud icon.
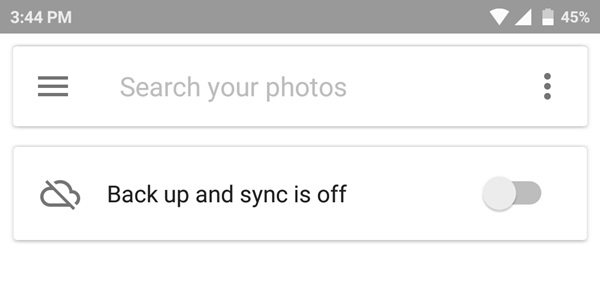
3. This will let you know that the backup option is off. Simply turn on the toggle button.
4. A prompt like this would appear. Just tap on the “Done” button to take Galaxy S9/S20 backup photos to Google.
5. To customize it, you can tap on “Change Settings”. Here, you can choose whether you wish to upload photos in original format or compressed size.
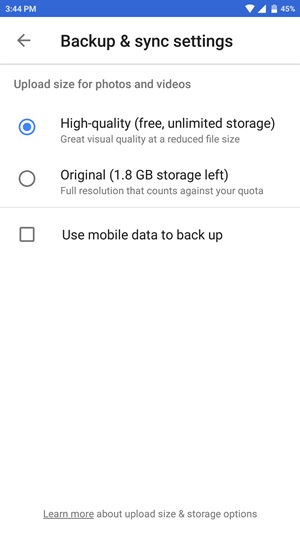
Google Photos provide unlimited storage when you select the high-quality compressed file option. You can view or restore your photos through its desktop website or the app. Though, if you wish to take a backup of your photos in the original format, then the space on your Google Drive would be used.
Part 4: Backup photos and pictures on S9/S20 to Dropbox
Just like Google Drive, you can also backup your photos to Dropbox as well. Though, Dropbox only provides a free space of 2 GB for a basic user. Nevertheless, you can access your data through its app or website. It can be a good alternative to do Galaxy S9/S20 backup photos to Google as well. To take Galaxy S9/S20 photo backup on Dropbox, follow these steps:
1. Launch the app on your device and log-in with your account details. You can also create your new account from here.
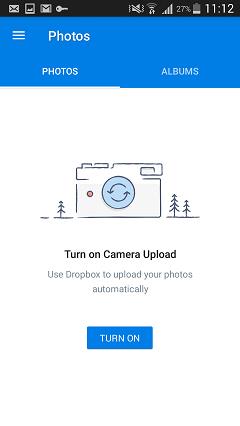
2. As soon as you will access the app, it will ask you to turn on the Camera Upload feature. Once you turn it on, all the photos taken with your device’s camera will automatically be uploaded to Dropbox.
3. Alternatively, you can select the photos from the Gallery as well. To do this, just tap on the “+” icon on the app.
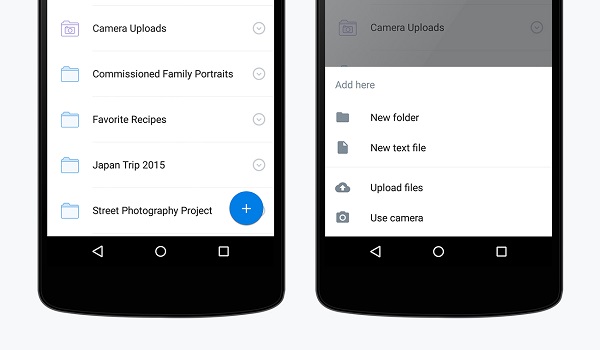
4. Tap on the Upload files and browse the photos you wish to save. From here, you can also upload directly from the camera or create a new folder.
Now when you know four different ways to perform Galaxy S9/S20 photo backup, you can easily keep your pictures safe and handy. Since Dr.Fone - Phone Manager (Android) provides the fastest and most convenient way to backup photos on S9/S20, we recommend it as well. It comes with a money-back guarantee and a dedicated support. Go ahead and purchase the application or choose its free trial to get things started!


Samsung S9
- 1. S9 Features
- 2. Transfer to S9
- 1. Transfer WhatsApp from iPhone to S9
- 2. Switch from Android to S9
- 3. Transfer from Huawei to S9
- 4. Transfer Photos from Samsung to Samsung
- 5. Switch from Old Samsung to S9
- 6. Transfer Music from Computer to S9
- 7. Transfer from iPhone to S9
- 8. Transfer from Sony to S9
- 9. Transfer WhatsApp from Android to S9
- 3. Manage S9
- 1. Manage Photos on S9/S9 Edge
- 2. Manage Contacts on S9/S9 Edge
- 3. Manage Music on S9/S9 Edge
- 4. Manage Samsung S9 on Computer
- 5. Transfer Photos from S9 to Computer
- 4. Backup S9
Bhavya Kaushik
contributor Editor