Find out here the most complete Dr.Fone guides to easily fix the problems on your mobile. Various iOS and Android solutions are both available on the Windows and Mac platforms. Download and try it now.
Dr.Fone - Data Recovery (iOS):
How To: Recover Data from iCloud Synced File
Step 1. Choose Recovery Mode
After running Dr.Fone, choose "Data Recovery" and click on it.

* Dr.Fone Mac version still has the old interface, but it does not affect the use of Dr.Fone function, we will update it as soon as possible.
Then choose "Recover iOS Data".
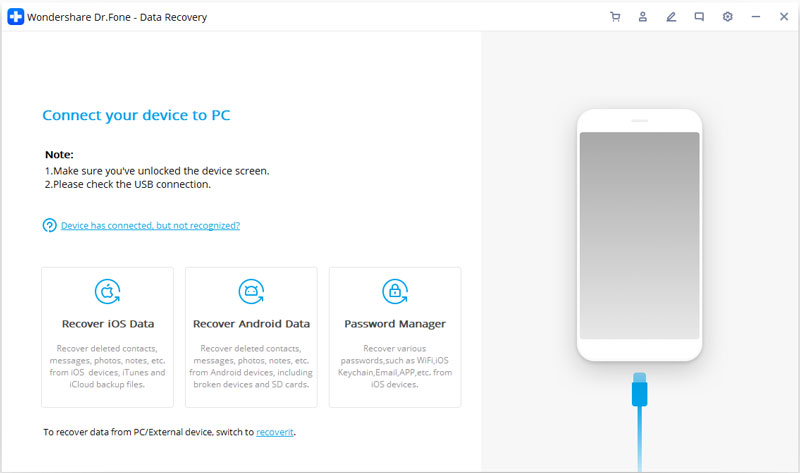
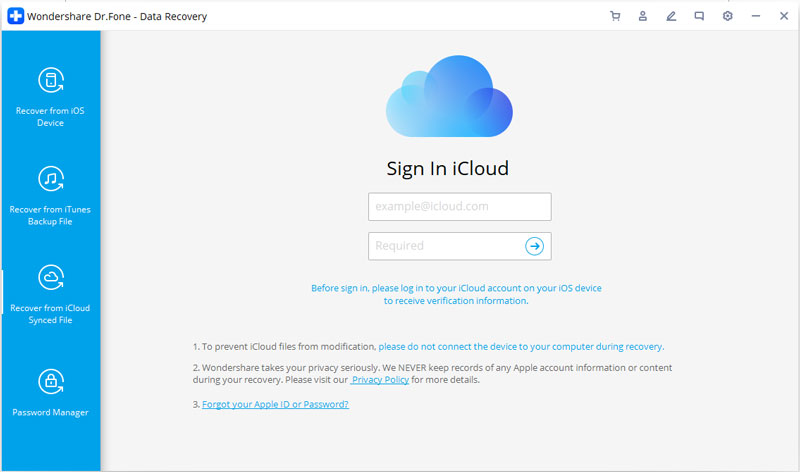
After that, you can see there options for you to do data recovery. Choose "Recover from iCloud Synced File". Then you'll see the window below. Enter your iCloud account and password to login.
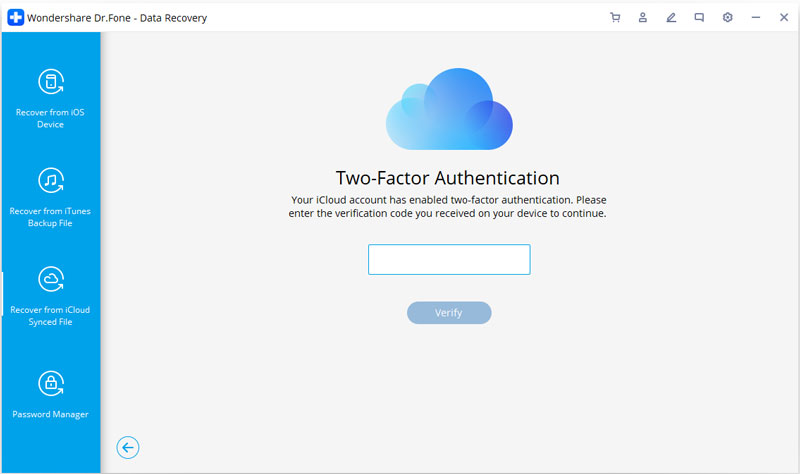
Some accounts need a two-factor authentication. Please enter the verification code you received on your device to verify. Dr.Fone takes your privacy seriously. We never keep a record of any your Apple account info or content at any time during your sessions.
Step 2. Download iCloud Synced File
When you logged into iCloud, the program can find all iCloud synced files in your account. Choose the data you want to recover and click on the "Next" button.
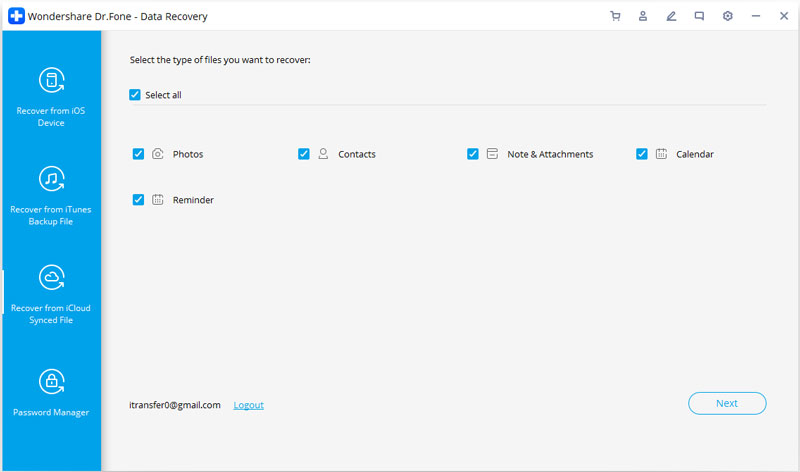
After that, the files will start to download. It will take you some time, just wait for a moment.
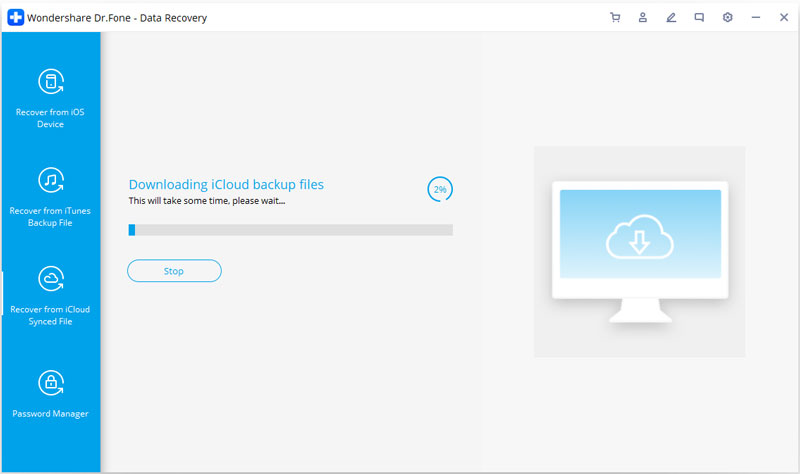
Step 3. Preview and Recover Data from iCloud Synced File
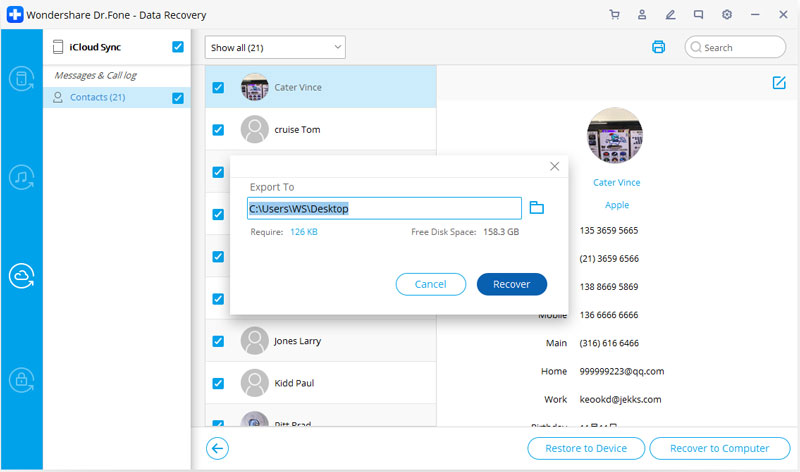
The scan will be complete in a few minutes. Once it stops, you can preview almost all data in your iCloud synced file, like contacts, Videos, Photos, Note and Reminder you have downloaded. Then click on the "Recover to Computer" or "Recover to Device" button to save them on your computer or your device with one click.
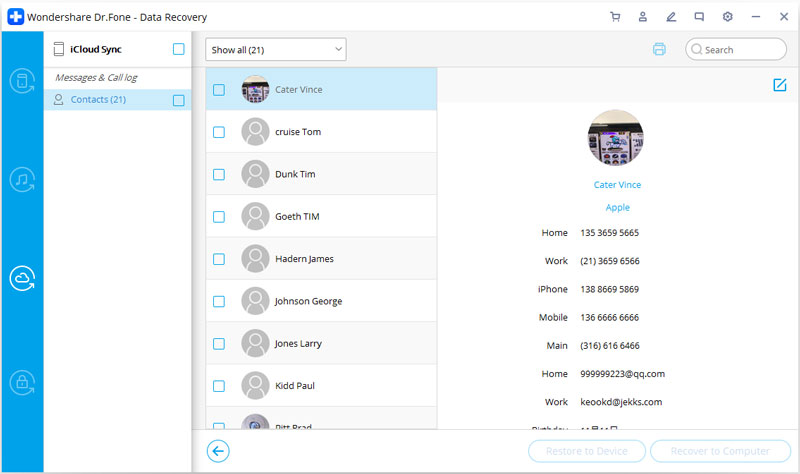
Now the data can be directly recovered to the computer or your iOS device if your iPhone, iPad or iPod touch is connected with your computer with a USB cable during the recovery process.
