Find out here the most complete Dr.Fone guides to easily fix the problems on your mobile. Various iOS and Android solutions are both available on the Windows and Mac platforms. Download and try it now.
Dr.Fone - System Repair (iOS):
Dr.Fone - System Repair has made it easier as never before for users to get iPhone, iPad, and iPod Touch out of the white screen, Recovery Mode, Apple logo, black screen, and fix other iOS issues. It will not cause any data loss while repairing the iOS system issues.
Note: After using this function, your iOS device will be updated to the latest iOS version. And if your iOS device has been jailbroken, it will be updated to a non-jailbroken version. If you have unlocked your iOS device before, it will be re-locked.
Before you start iOS repairing, get the tool downloaded onto your computer
- Part 1. Fix iOS system issues in standard mode
- Part 2. Fix iOS system issues in advanced mode
- Part 3. Fix iOS system issues when iOS devices cannot be recognized
- Part 4. Easy way to get out of Recovery mode (free service)
Part 1. Fix iOS system issues in standard mode
Launch Dr.Fone and choose "System Repair" from the main window.

* Dr.Fone Mac version still has the old interface, but it does not affect the use of Dr.Fone function, we will update it as soon as possible.
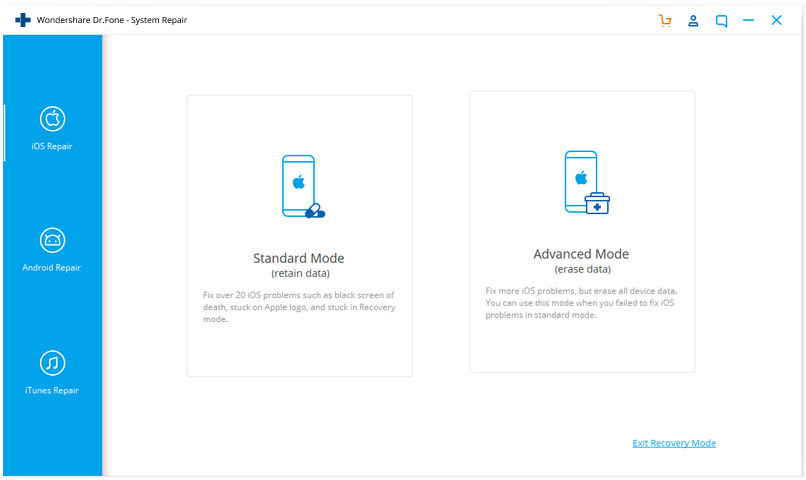
Then connect your iPhone, iPad, or iPod touch to your computer with its lightning cable. When Dr.Fone detects your iOS device, you can find two options: Standard Mode and Advanced Mode.
Note: The standard mode fixes most iOS system issues by retaining device data. The advanced mode fixes even more iOS system issues but erases the device data. Suggest that you go to the advanced mode only if the standard mode fails.
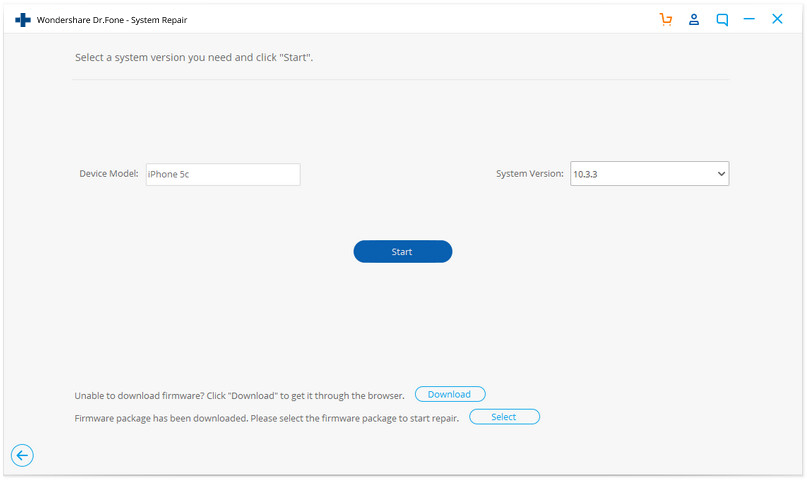
The tool automatically detects the model type of your iDevice and displays available iOS system versions. Select a version and click on "Start" to continue.
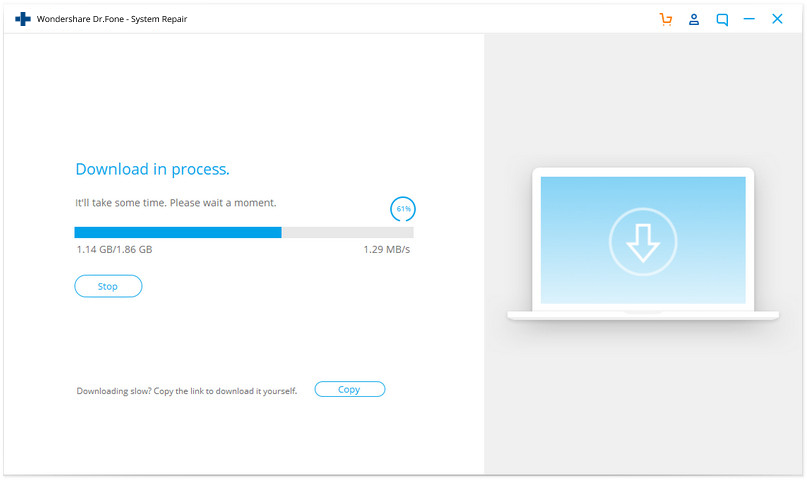
Then the iOS firmware will be downloaded. Since the firmware we need to download is large, it will take some time to complete the download. Make sure your network is stable during the process. If the firmware is not downloaded successfully, you can also click on "Download" to download the firmware using your browser, and click on "Select" to restore the downloaded firmware.
After the download, the tool starts to verify the downloaded iOS firmware.
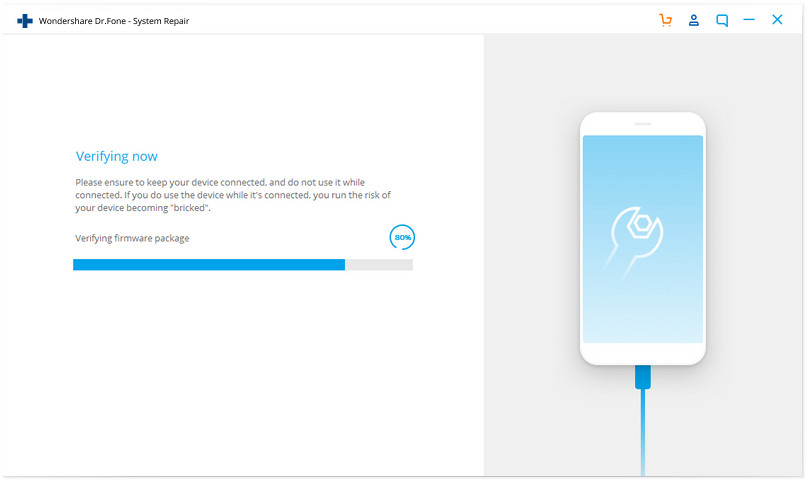
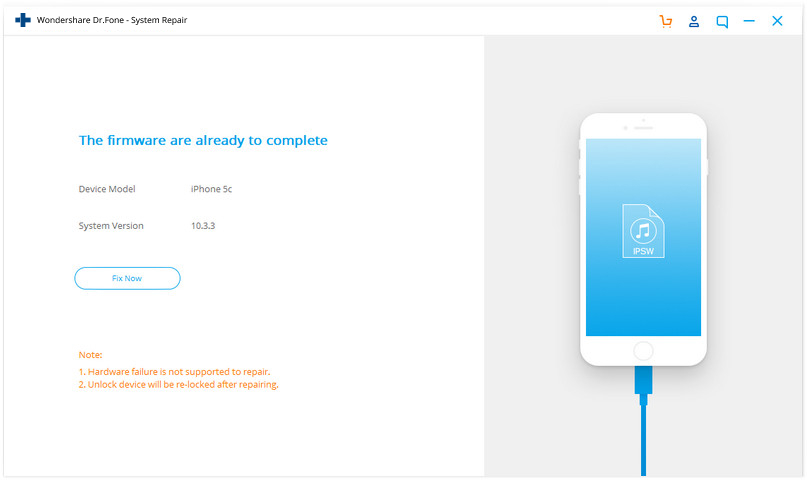
You can see this screen when the iOS firmware is verified. Click on "Fix Now" to start repairing your iOS and to get your iOS device to work normally again.
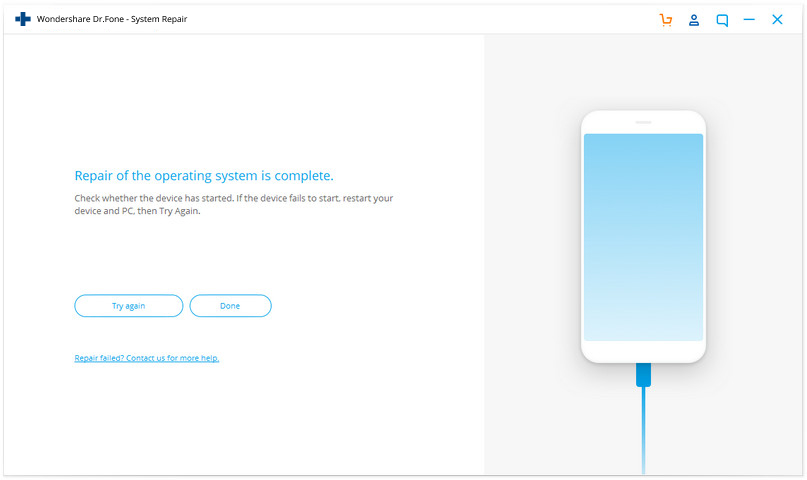
In a couple of minutes, your iOS device will be repaired successfully. Just grab your device and wait for it to start up. You can find all iOS system issues are gone.
Part 2. Fix iOS system issues in advanced mode
Cannot fix your iPhone/iPad/iPod touch to normal in the standard mode? Well, the issues must be serious with your iOS system. In this case, you should opt for the Advanced mode to fix. Do remember that this mode may erase your device data, and backup your iOS data before going on.
Click right on the second option "Advanced Mode". Ensure that your iPhone/iPad/iPod touch is still connected to your PC.

Your device model info is detected the same way as in the standard mode. Select an iOS firmware and click "Start" to download the firmware. Alternatively, click "Download" to get the firmware downloaded more flexibly, and click "Select" after it is downloaded onto your PC.

After the iOS firmware is downloaded and verified, hit on "Fix Now" to get your iDevice repaired in the advanced mode.

The advanced mode will run an in-depth fixing process on your iPhone/iPad/iPod.
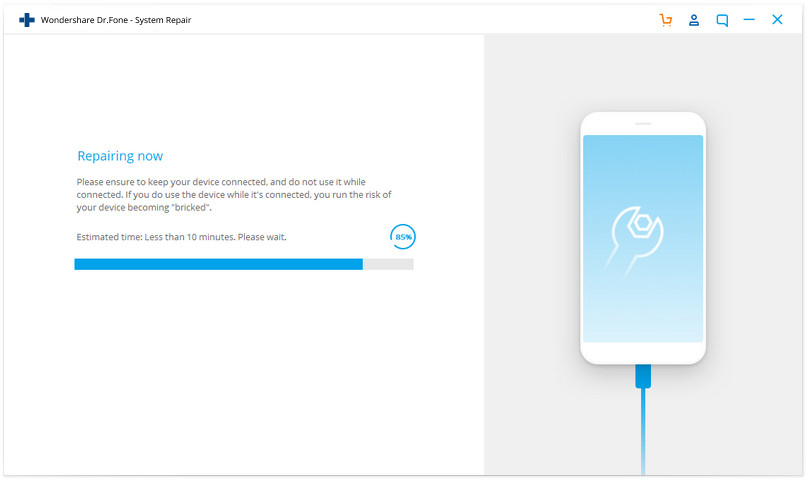
When the iOS system repairing is complete, you can see that your iPhone/iPad/iPod touch works properly again.

Part 3. Fix iOS system issues when iOS devices cannot be recognized
If your iPhone/iPad/iPod does not function well, and cannot be recognized by your PC, Dr.Fone - System Repair shows "Device is connected but not recognized" on the screen. Click on this link and the tool will remind you to boot the device in Recovery mode or DFU mode before repairing. The instructions on how to boot all iDevices in Recovery mode or DFU mode are displayed on the tool screen. Just follow along.
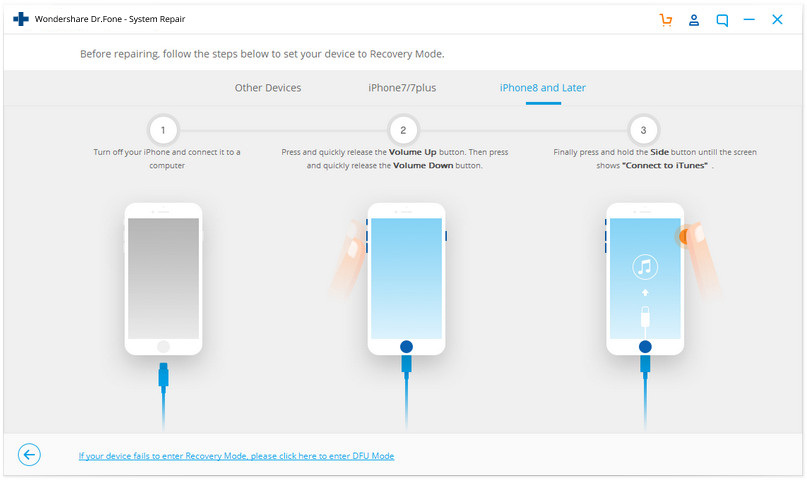
For example, if you have an iPhone 8 or later model, then perform the following steps:
Steps to boot iPhone 8 and later models in Recovery mode:
- Power off your iPhone 8 and connect it to your PC.
- Press and quickly release the Volume Up button. Then press and quickly release the Volume Down button.
- Finally, press and hold the Side button until the screen shows the Connect to iTunes screen.
Steps to boot iPhone 8 and later models in DFU mode:
- Use a lightning cable to connect your iPhone to the PC. Press the Volume Up button once quickly and press the Volume Down button once quickly.
- Long press the Side button until the screen turns black. Then, without releasing the Side button, long-press the Volume Down button together for 5 seconds.
- Release the Side button but keep holding the Volume Down button. The screen remains black if the DFU mode is successfully activated.
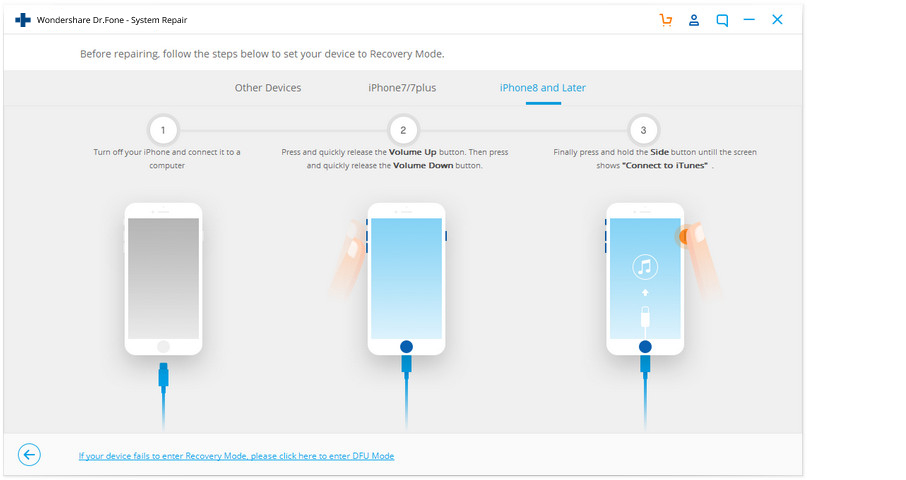
After your iOS device enters the Recovery or DFU mode, choose the standard mode or advanced mode to continue.
Part 4. Easy way to get out of Recovery mode (free service)
If your iPhone or another iDevice is unknowingly stuck on the recovery mode, here is a simple way to get out safely.
Launch the Dr.Fone tool and select "Repair" in the main interface. After connecting your iDevice to the computer, select "iOS Repair" and click on "Exit Recovery Mode" in the lower right part.

In the new window, you can see a graphic that shows an iPhone stuck in Recovery mode. Click on "Exit Recovery Mode".
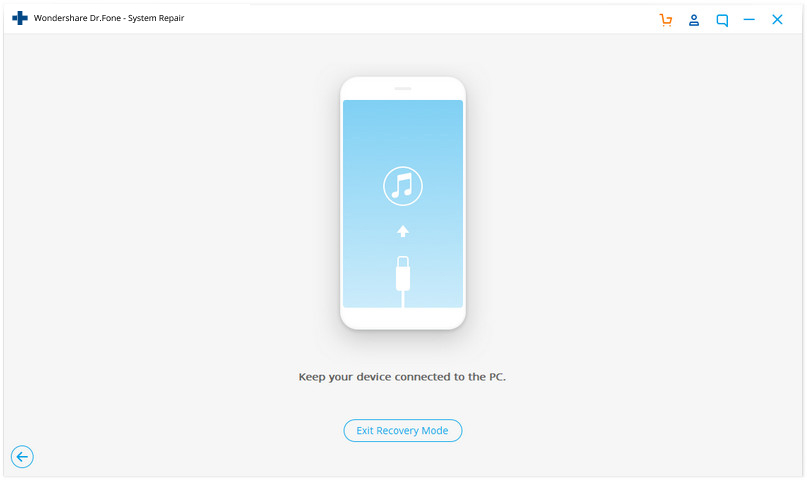
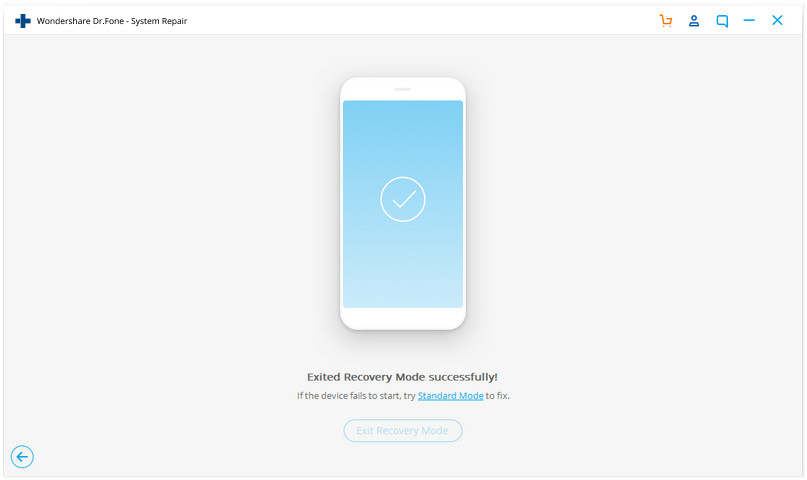
Almost instantly, your iPhone/iPad/iPod touch can be got out of the Recovery mode. If you cannot take your iDevice out of Recovery mode this way, or your iDevice is stuck on DFU mode, try iOS system recovery.
