Find out here the most complete Dr.Fone guides to easily fix the problems on your mobile. Various iOS and Android solutions are both available on the Windows and Mac platforms. Download and try it now.
Dr.Fone - Phone Backup (iOS):
Dr.Fone now supports to backup and export iOS device data directly to a computer, making it easy for users to backup, export, and print iPhone/iPad/iPod Touch data on the computer, and even selectively restore the backup data to the iOS device.
Part 1. Backup Your iPhone/iPad/iPod Touch
Solution 1: Manually Back Up Data
Step 1. Connect iOS Device to Computer
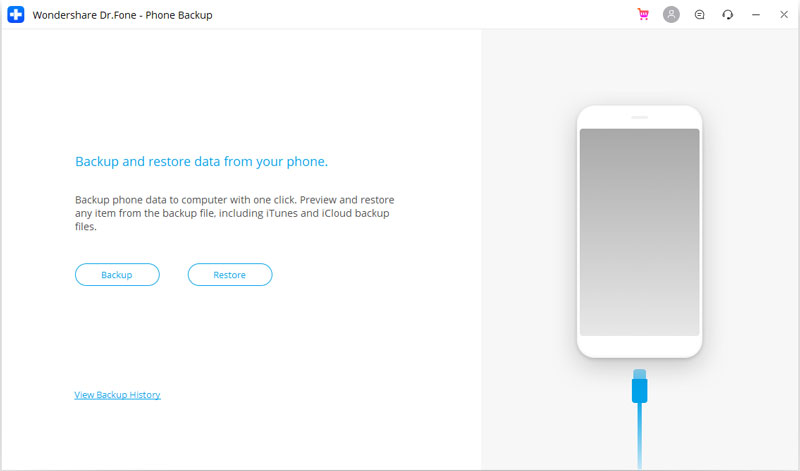
After launching Dr.Fone on your computer, select the "Phone Backup" option from the tool list. Then use the Lightning cable to connect your iPhone, iPad, or iPod touch.

* Dr.Fone Mac version still has the old interface, but it does not affect the use of Dr.Fone function, we will update it as soon as possible.
For iOS devices, Dr.Fone supports to backup most data types, such as Photos, Music, Videos, Contacts, Messages, Notes, App photo, App video, App documents etc. In this case, please select the "backup" button.
Step 2. Select File Types to Backup
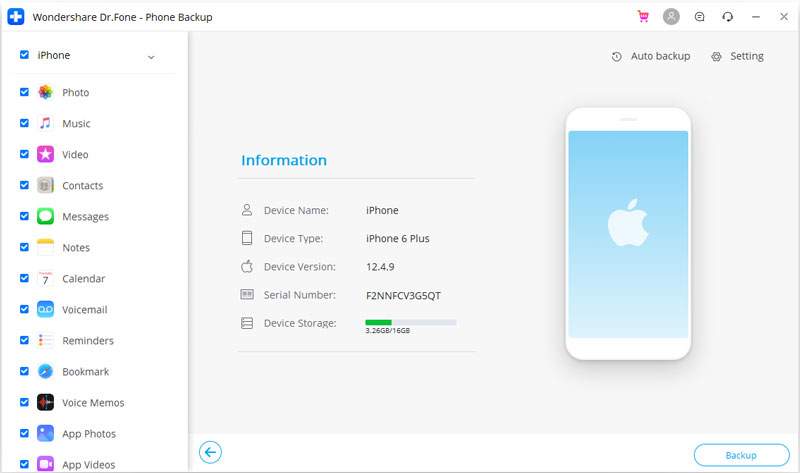
After selecting the "backup" button, Dr.Fone will detect and backup the file types on your device automatically and you can select what file types to backup. Then click on "Backup".
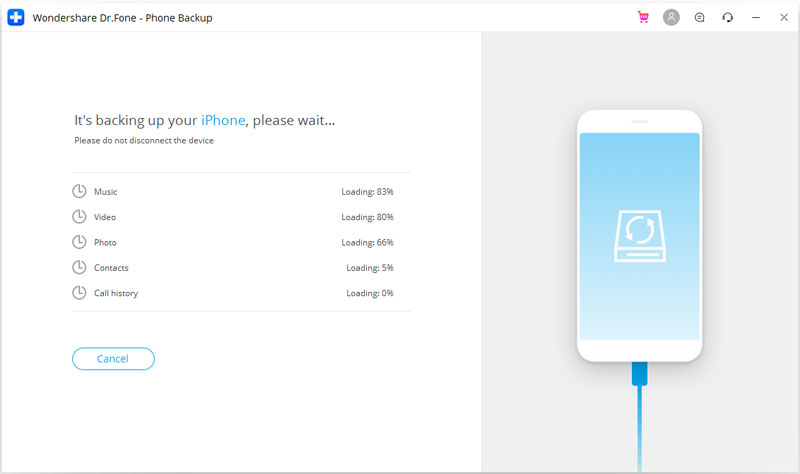
The whole backup process will take a few minutes, depending on the data storage on your device. Then Dr.Fone will display all the supported data, like Photos & Videos, Messages & Call Logs, Contacts, Memos, and other data.
Solution 2: Automatically Back Up Data
Step 1. Start Backup Automatically
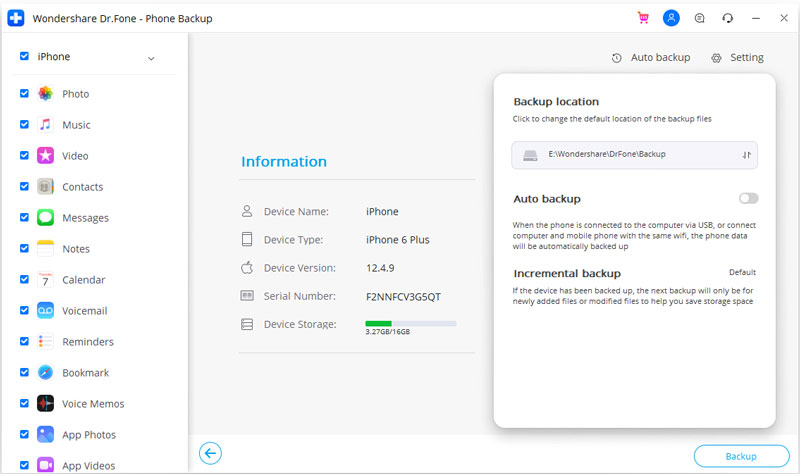
You can also set up the automatic backup solution. When the automatic backup function is enabled, you can set up the backup frequency and backup period. If no customized backup is configured, the default backup is used.
Step 2. Start Backup Automatically
After connecting your iOS device and PC with the same wifi, the data can be automatically backed up to the computer. If the device has been backed up, the next backup will only be for newly added files or modified files to help you save storage space.
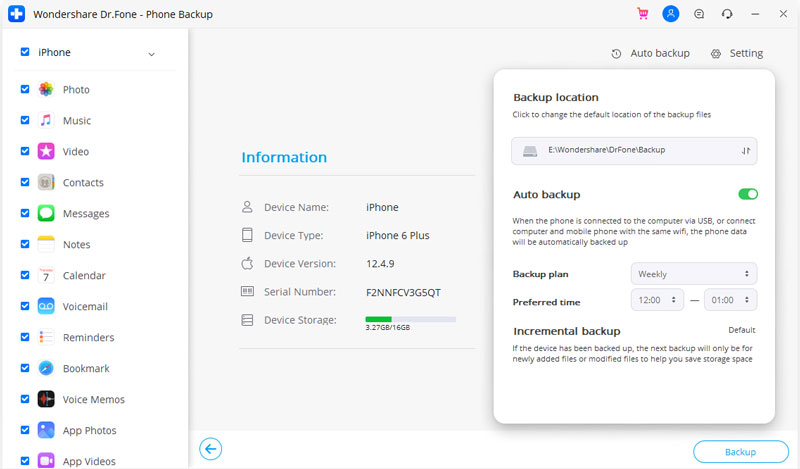
You can also click on the "setting" icon on the top-right corner to set up the backup file saving path.
Step 3. View What's Backed Up
When the backup is completed, you can click "View Backup History" to view all iOS device backup history. Click on the "View" button to check the contents of the backup file in categories. You can choose one single file or multiple files to print them or export them to your computer.
Part 2. Restore Backup to Your Computer
Step 1. Select the backup file
Launch Dr.Fone and select Phone Backup. Connect your iPhone, iPad, or iPod Touch to the computer. Click on Restore.
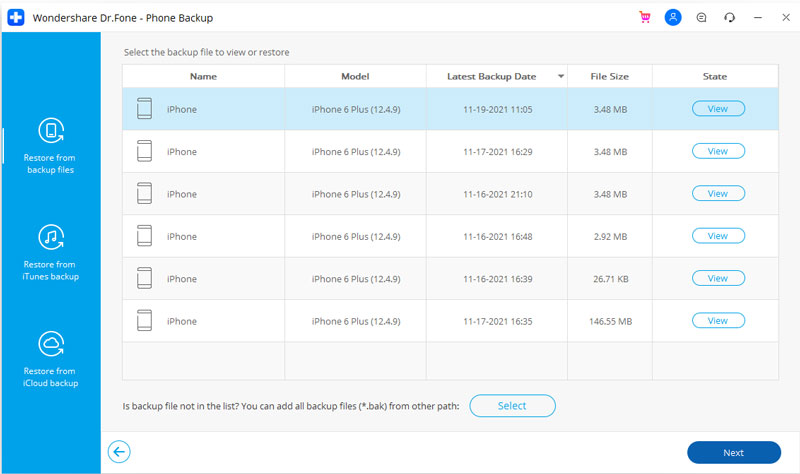
If you have used this function to backup your iOS device before, You can click on the "View backup history" button to view the backup file list.

Then Dr.Fone will display the backup history. Click on the "View" button to view the backup.

Step 2. View and Restore the backup file
After you click on "View", the program will take a few seconds to analyze the backup file and display all data in categories in the backup file.
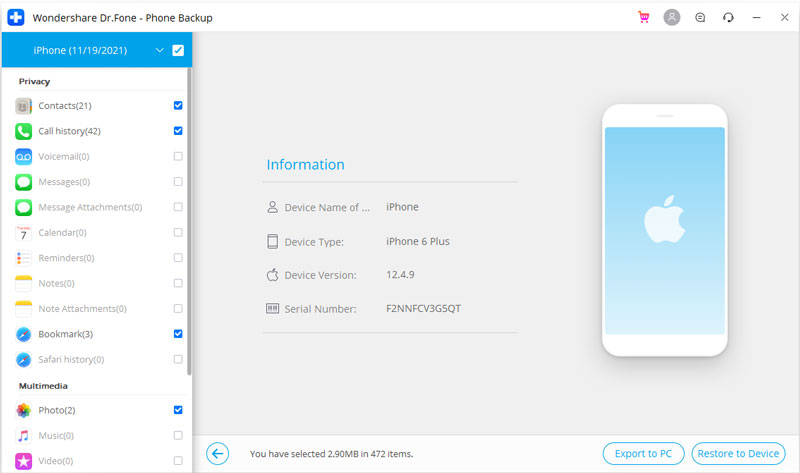
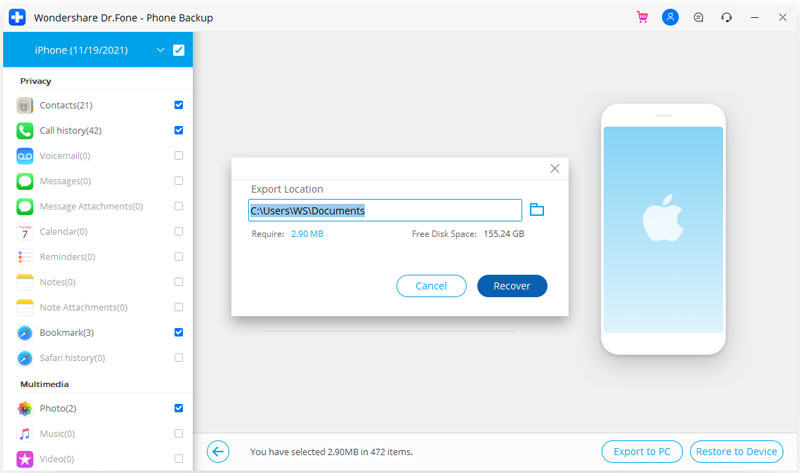
After finding the files you need, you can just select a few files or select them all to proceed to the next step. Currently, Dr.Fone supports to restore the Notes, Contacts, Messages, Photos, videos, music, Safari bookmarks, Call History, Calendar, Voice memo to a device. So you can restore these files to your iOS device or export them all to your computer.
If you want to restore the files to your device, select the files and click on "Restore to Device". Just in a few seconds, you will have these files on your iOS device.
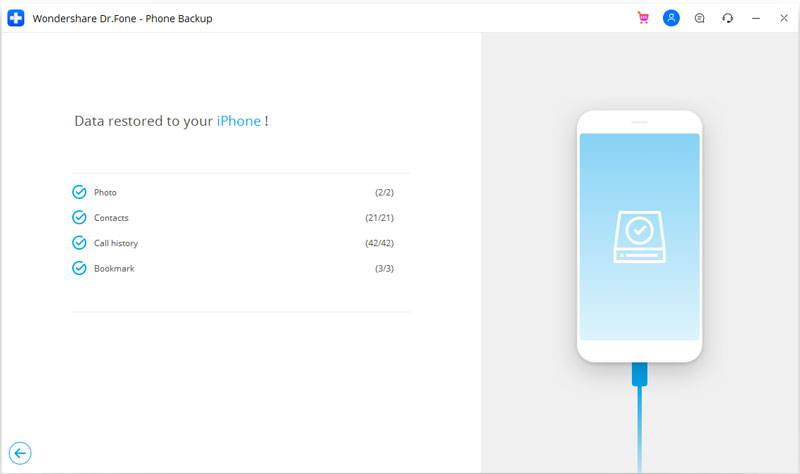
If you want to export the selected files to your computer, click on Export to PC. Then select the save path to export your files.
