Find out here the most complete Dr.Fone guides to easily fix the problems on your mobile. Various iOS and Android solutions are both available on the Windows and Mac platforms. Download and try it now.
Dr.Fone - Data Eraser (iOS):
Erase All Data for an iOS device can help you wipe iPhone/iPad data completely and permanently. Nobody, even professional identity thieves, will be ever to access your private data on the device again.
Once running the Dr.Fone on your computer and you'll see all features inside as following. Select "Data Eraser" among all the functions.

* Dr.Fone Mac version still has the old interface, but it does not affect the use of Dr.Fone function, we will update it as soon as possible.
Next, let's check how to use Dr.Fone - Data Eraser (iOS) to erase all data on the iPhone in steps.
Step 1. Connect your device to the computer
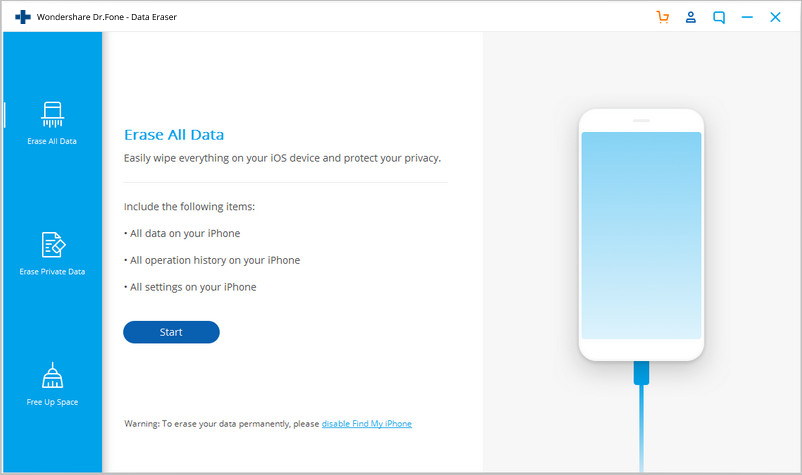
Connect your iPhone or iPad to the computer using a lightning cable. Once it recognizes your device, it displays 3 options for you. Choose Erase All Data to start the data erasing process.
Step 2. Start erasing your iPhone completely and permanently
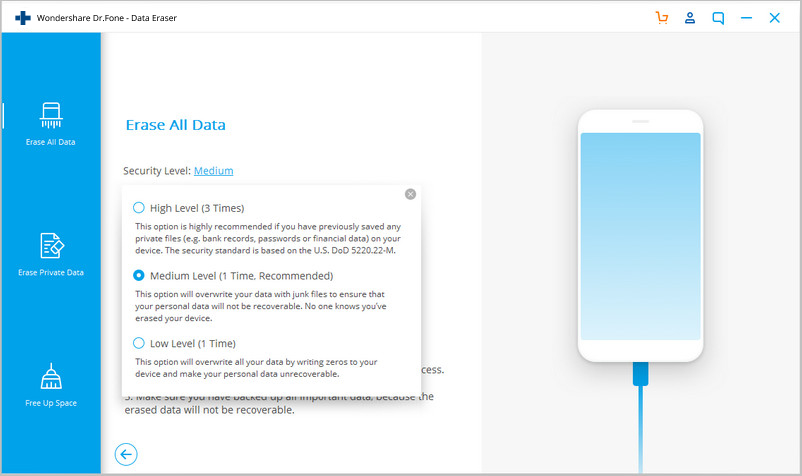
When the program detects your iPhone or iPad, you can select a security level to erase iOS data. The higher the security level, the lower possibility your data can be recovered. Meanwhile, a higher security level takes a long time to erase.
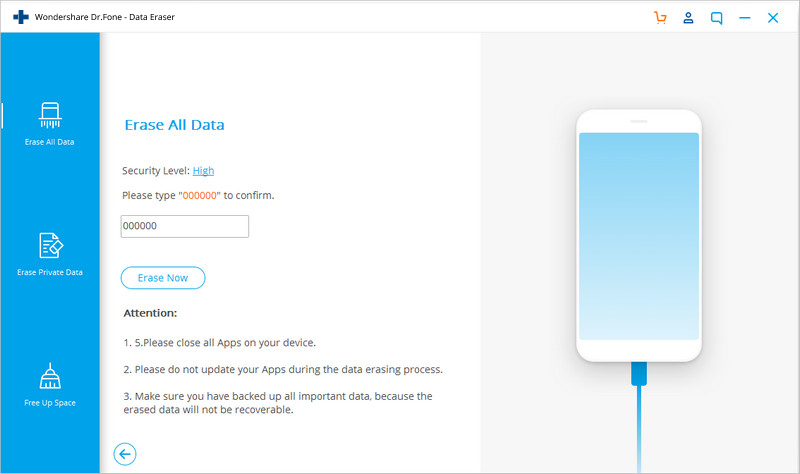
Since the erased data can't be recovered, you need to be careful and enter "000000" to confirm your operation when you are ready.
Step 3. Wait until the data erasure is complete
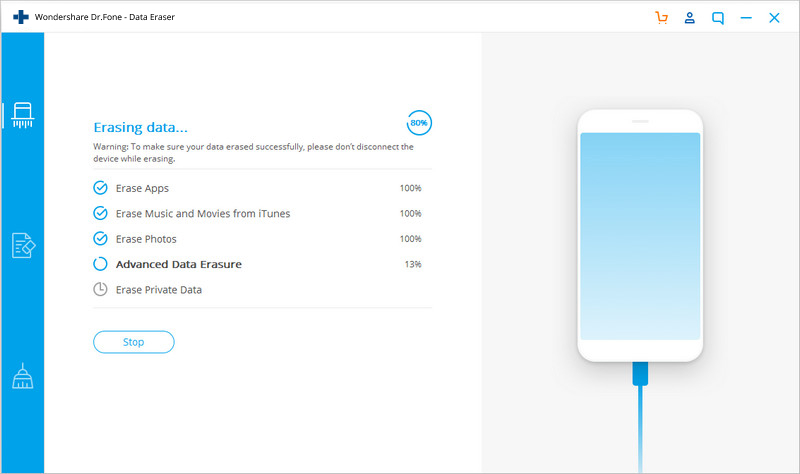
Once the erasure begins, you don't need to do anything, but wait for the end of the process, and keep that your device is connected during the whole process.
The program requires you to confirm the rebooting of your iPhone or iPad. Click "OK" to continue.
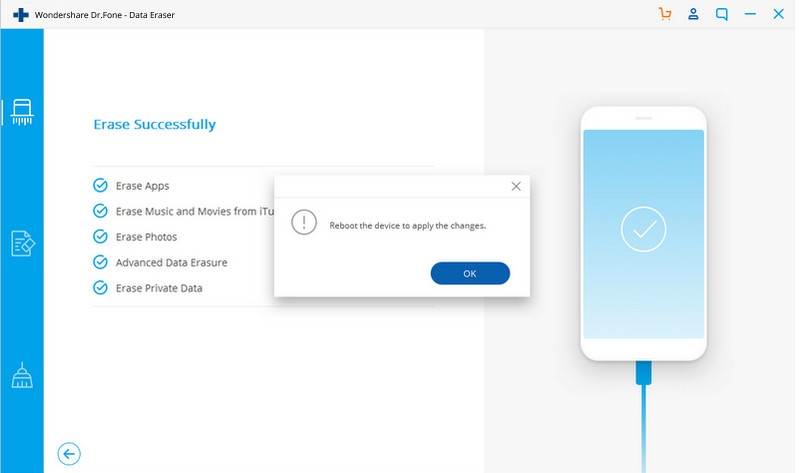
When the data erasure is complete, you will see a window appearing as follows.
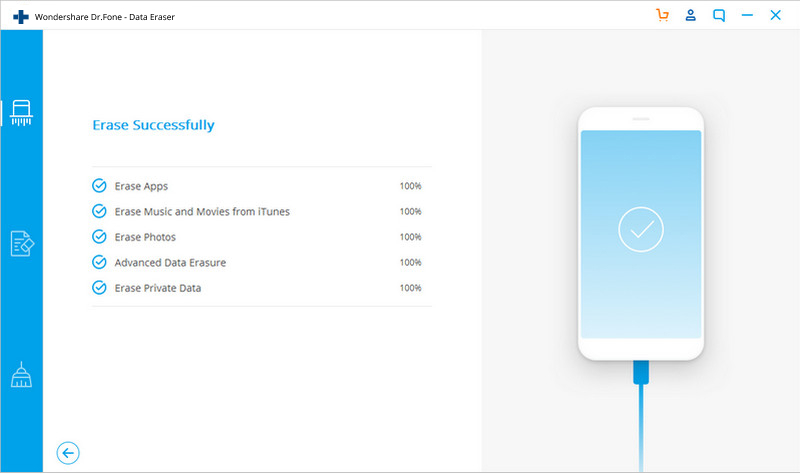
Now, your iPhone/iPad is fully erased and turns into a new device with no content, and you can begin to set it according to your need.


