Find out here the most complete Dr.Fone guides to easily fix the problems on your mobile. Various iOS and Android solutions are both available on the Windows and Mac platforms. Download and try it now.
Dr.Fone - Screen Unlock (iOS):
"This Apple ID has been disabled for security reasons"
“You can’t sign in because your account was disabled for security reasons”
“This Apple ID has been locked for security reasons”
You may meet with this pop-up reminder owing to various security reasons when you try to log in to your Apple ID. Or you just forget your Apple ID password and don’t know how to find it back. Don’t be panic about these situations. You can try Dr.Fone - Screen Unlock (iOS) to unlock your Apple ID with a few clicks.
The following will show you how to do it.
Step 1. Connect your iPhone/iPad to the computer via USB
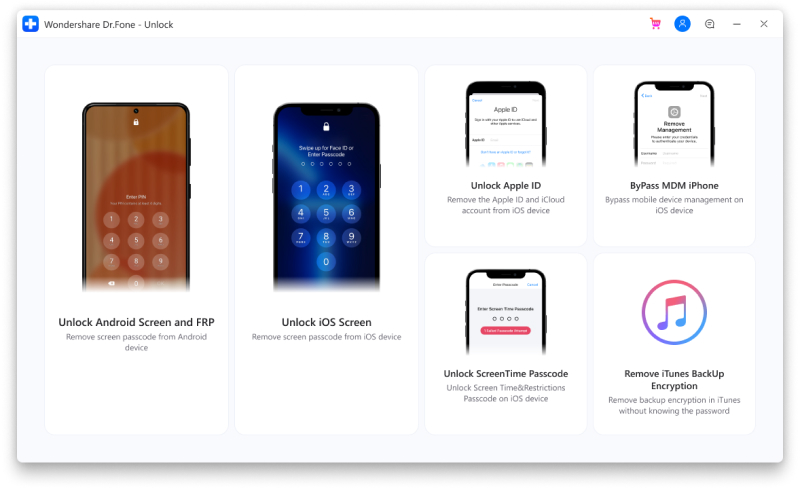
Download and install Dr.Fone on your computer and choose "Screen Unlock" on the home interface after kicking it off.
* Dr.Fone Mac version still has the old interface, but it does not affect the use of Dr.Fone function, we will update it as soon as possible.

A new interface will pop up after selecting the “Screen Unlock” tool. You can tap the last one “Unlock Apple ID” to start to free you locked Apple ID.

1. Dr.Fone - Screen Unlock (iOS) supports to bypass Apple ID on iDevices running on iOS 14.2 and earlier.
2. You can only start to remove Apple ID after you unlock the Apple screen
3. Illegal removing for business purposes is prohibited.
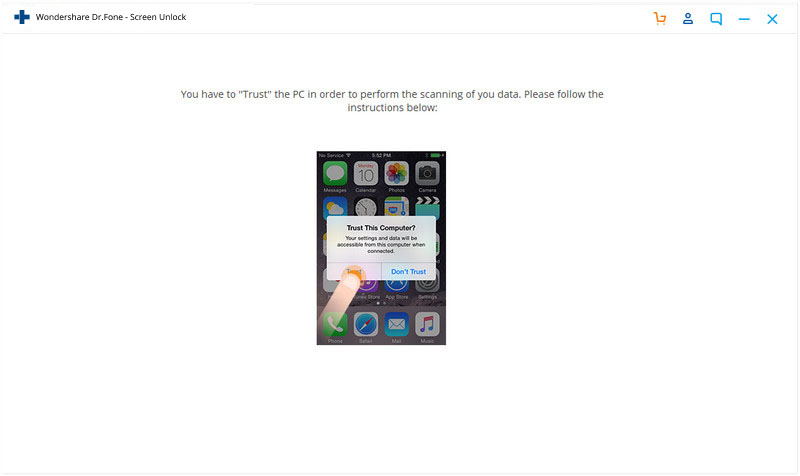
Step 2: Enter screen password and trust this computer
As mentioned above, you must know the password of this phone and unlock the screen to trust this computer for further scanning the data on this phone.

This operation means that all your data will be removed once you start to unlock the Apple ID. We suggest you backup all your data before going further step.

Step 3. Reset all your iPhone settings and reboot your iPhone
Prior to unlocking your locked your Apple ID, you need to reset all your iPhone settings with the guidance by the on-screen instructions. After resetting all your settings and restart the iPhone, the unlocking process will automatically start.

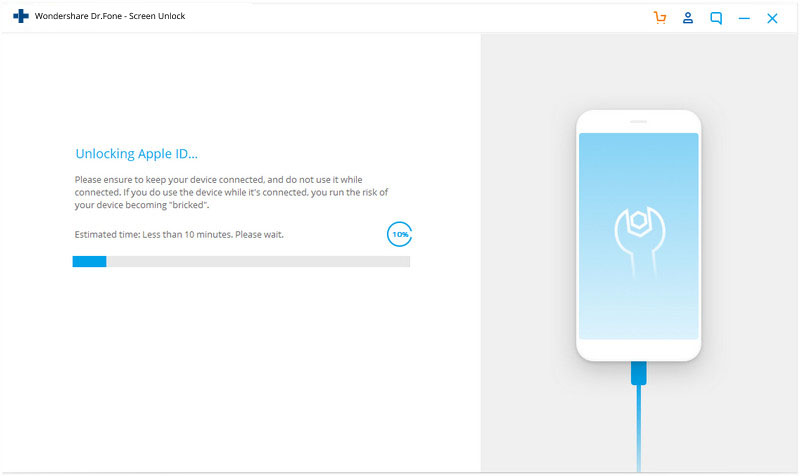
Step 4. Start unlocking Apple ID in seconds
Once you finish resetting your iPhone and restart, this tool will automatically kick off the process of unlocking Apple ID. And the unlocking process will be finished in few seconds.

Step 5. Check the Apple ID
After completing Apple ID unlock, the following window will pop up which means you can check if your Apple ID process has been unlocked.


