Find out here the most complete Dr.Fone guides to easily fix the problems on your mobile. Various iOS and Android solutions are both available on the Windows and Mac platforms. Download and try it now.
Dr.Fone - Virtual Location (iOS/Android):
Nowadays location-based apps and games are booming and facilitate our life remarkably. But the problems also emerge. Imagine this:
- Jack downloaded a dating app that recommends matches based on his location. What if he's got fed up with the recommended ones, and want to explore those in other regions?
- Henry is crazy for AR games that demand to play while walking outside. What if it's rainy or windy outside, it's late at night, or the roads are not safe?
Such scenes are not uncommon. Does Jack have to travel long journeys to other regions? Does Henry have to play the games regardless of safety issues, or simply give up the loved games?
Of course not, we have much smarter ways with the help of Dr.Fone - Virtual Location (iOS/Android).
- Part 1: Teleport to anywhere in the world
- Part 2: Simulate movement along a route (set by 2 spots)
- Part 3: Simulate movement along a route (set by multiple spots)
- Part 4: Use joystick for more flexible GPS control
- Part 5: Export and import GPX to save and share the special route
- Part 6: How can I add my route as a favorite?
Part 1. Teleport to anywhere in the world
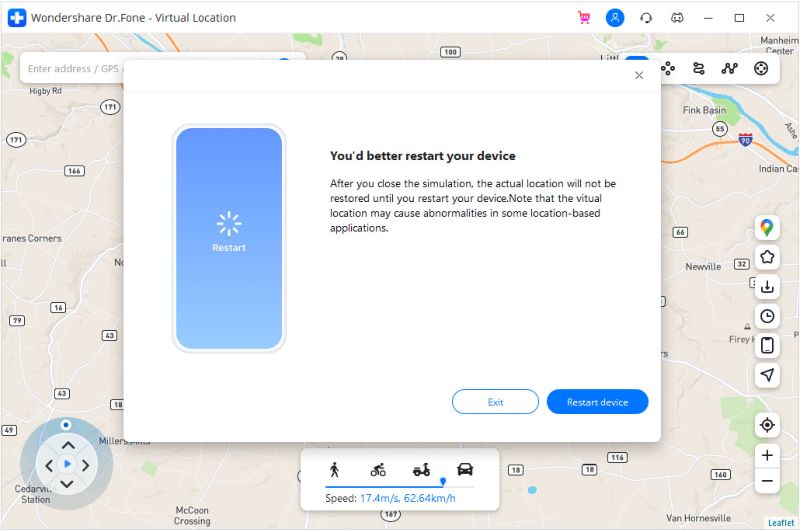
Attetion: Once you teleport or move to a virtual place, you can come back by click the "reset location" button on the right sidebar, and if you applied VPN service on your pc, you can restore your location by restarting your phone.
First of all, you need to download Dr.Fone - Virtual Location (iOS/Android). Then install and launch the program.
* Dr.Fone Mac version still has the old interface, but it does not affect the use of Dr.Fone function, we will update it as soon as possible.

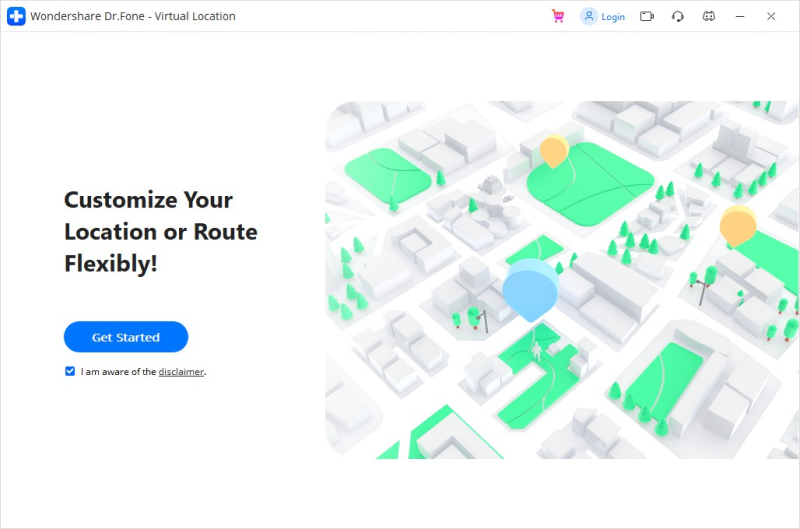
- Click "Virtual Location" from all the options, and connect your iPhone or Android phone to your computer. Click "Get Started".
- On the new window, you can find your current location on your map. If you can't find your current location when searching spots on the map, you can click the "center on" icon on the right sidebar to show your current location.
- Activate the "teleport mode" by clicking the corresponding icon (the 1st one) on the upper right. Enter the place you want to teleport to in the upper left field, and click the "go" icon. Let's take Rome in Italy as an example.
- The system now understands your desired place is Rome. Click "Move Here" in the popup box.
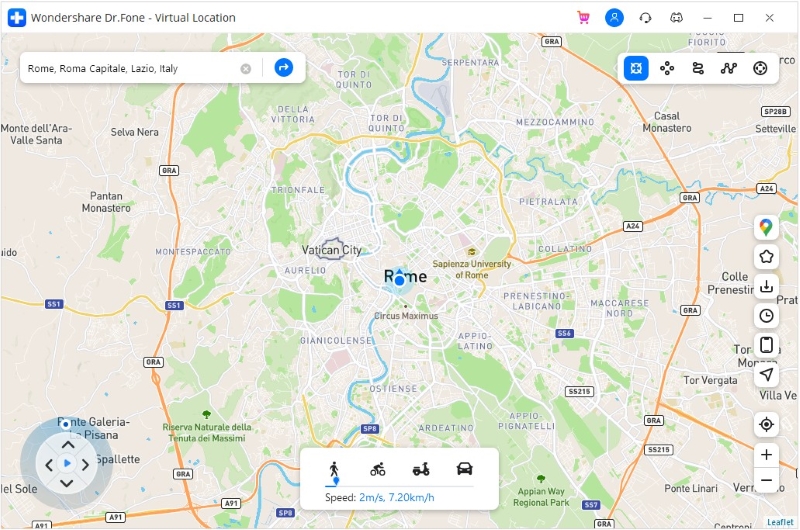
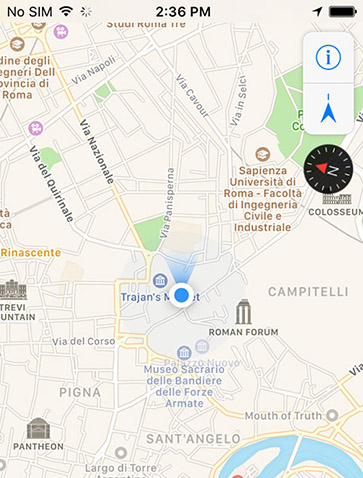
- Your location is changed to Rome now. The location on your iOS or Android devices is fixed to Rome, Italy. And the location in your location-based app, is, of course, the same place.
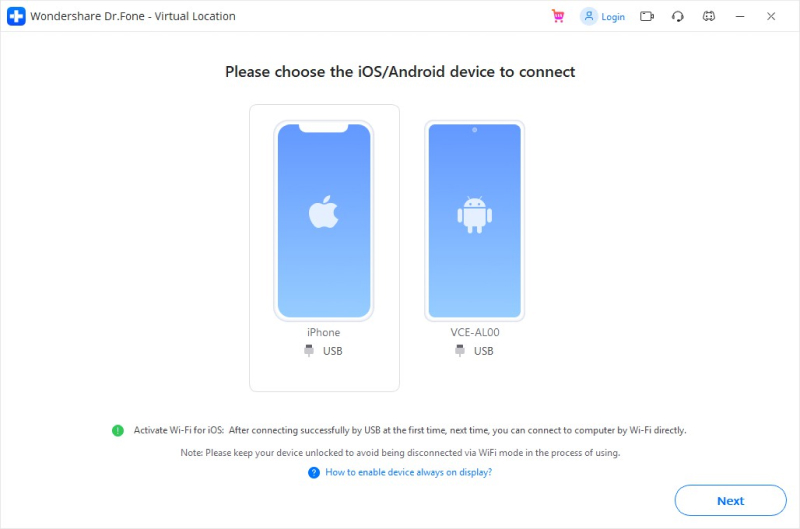
Tips: For iPhone users, it's available to connect the software with Wi-Fi without an USB cable after being connected once.
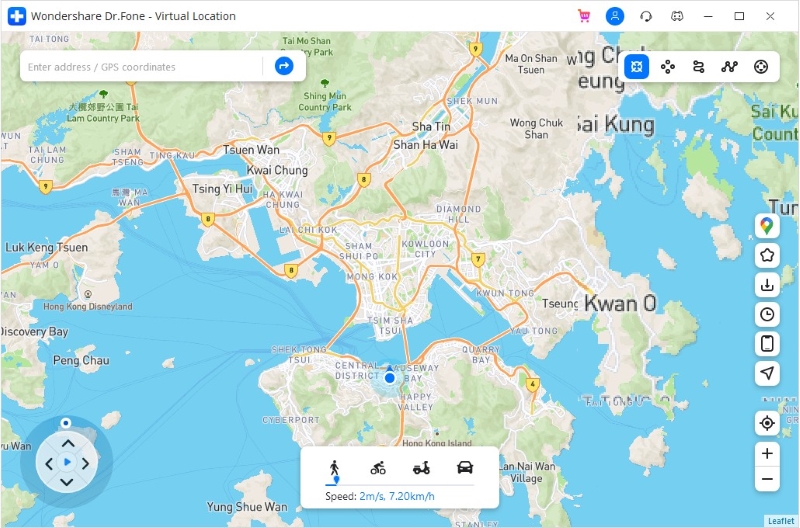
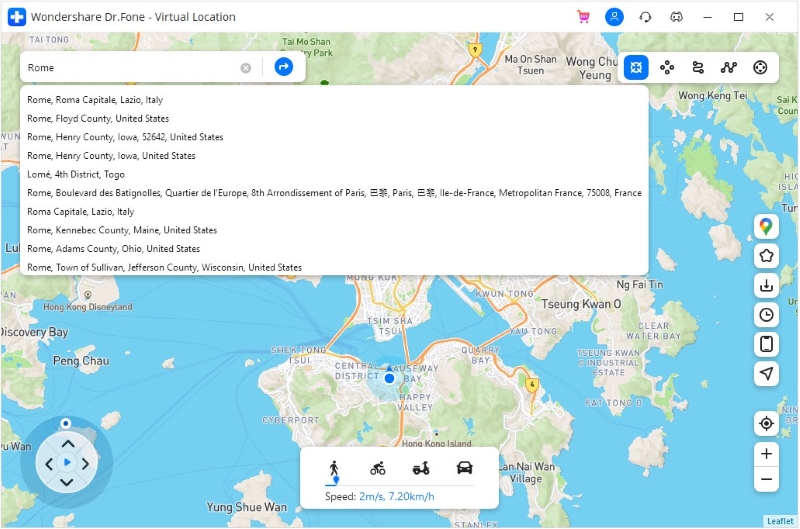
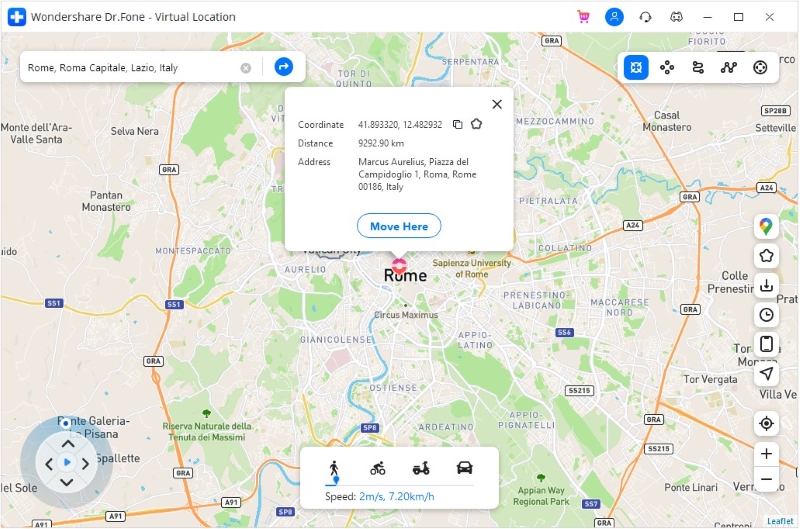
The location displayed on the computer
The location displayed on your phone
Part 2. Simulate movement along a route (set by 2 spots)
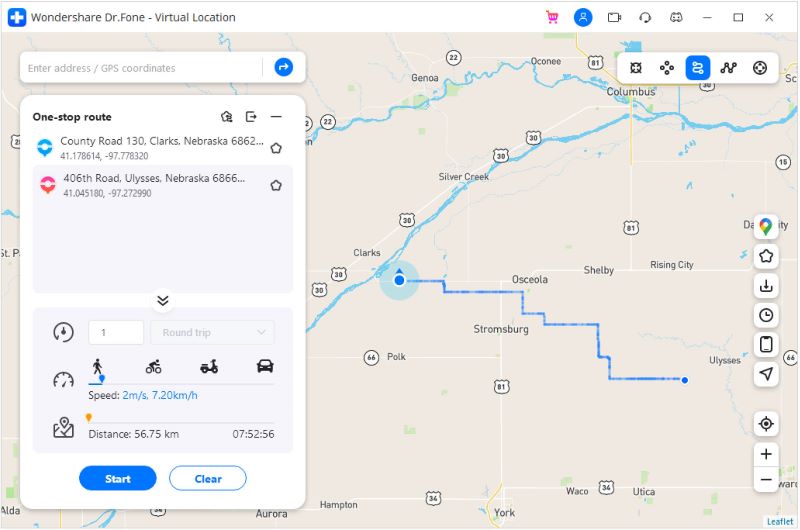
This location spoofing program also allows you to simulate movement along a route you specified between 2 spots. Here is how:
- Go to the "one-stop mode" by selecting the corresponding icon (the 3rd one) in the upper right.
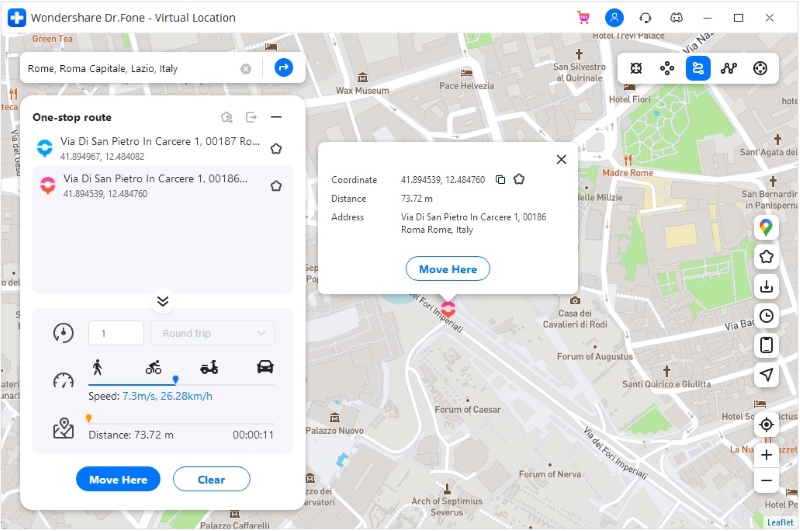
- Select a spot you want to go on the map. The popup box now appears to tell you how far it is.
- Drag the slider on the speed option to set how fast you want to walk, let's take the cycling speed for example.
- You can also enter a number to define how many times you want to go back and forth between the two places. Then click "Move Here".
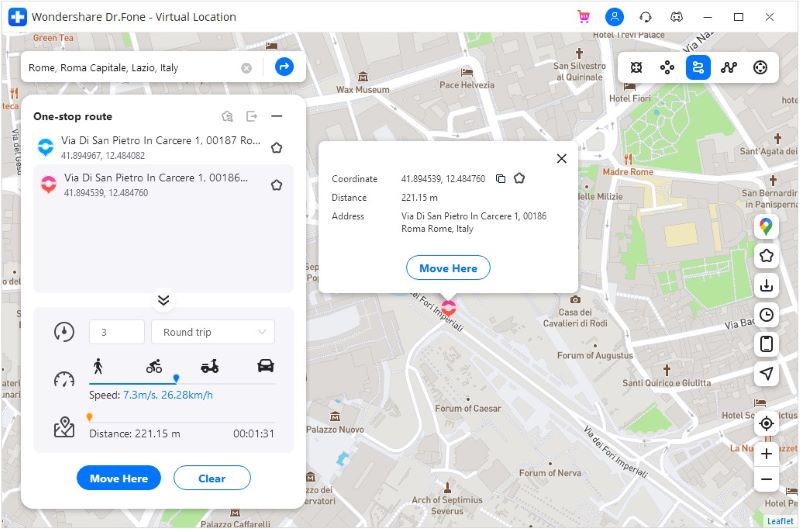
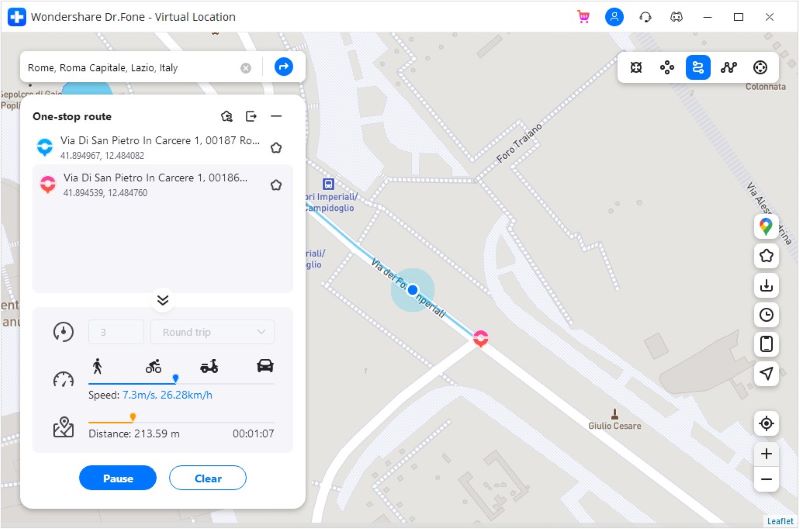
Now you can see your position is moving on the map with the speed of cycling.
Part 3. Simulate movement along a route (set by multiple spots)
If you want to pass by multiple places along a route on the map. Then you can try the "multi-stop mode".
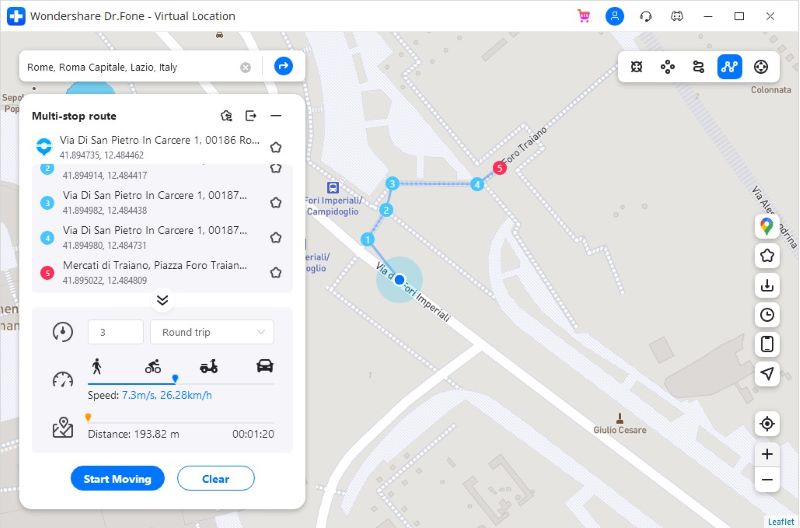
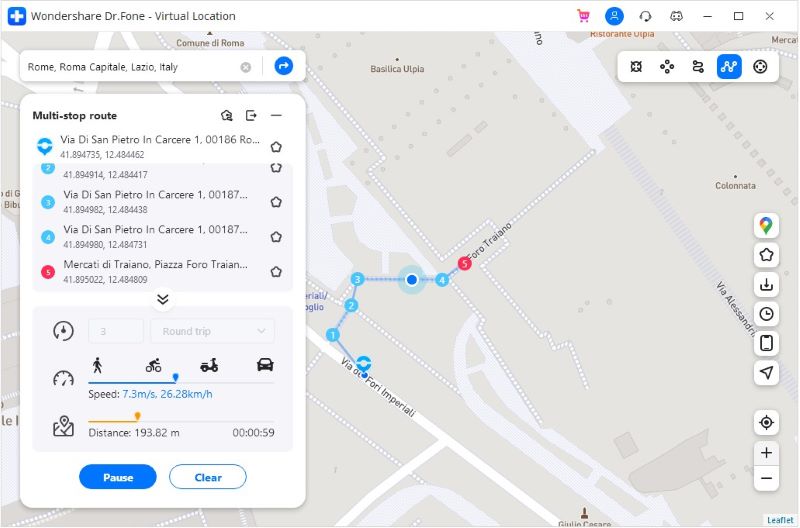
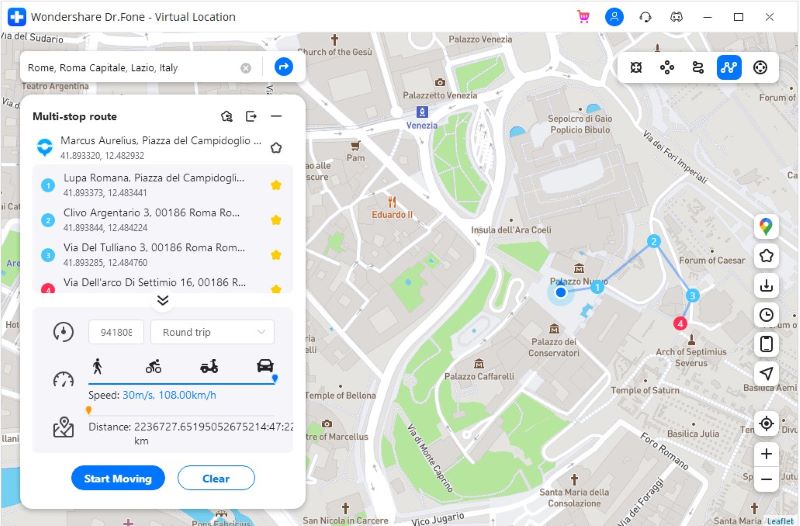
- Select the "multi-stop mode" (the 4th one) in the upper right. Then you can select all the spots you want to pass one by one.
- Now the left sidebar shows how far you will travel on the map. You can set the moving speed and specify how many times to go back and forth, and click "Starting Moving" to start the movement simulation.
Note: Remember to select them along a specific road to prevent the game developer from thinking you are cheating.
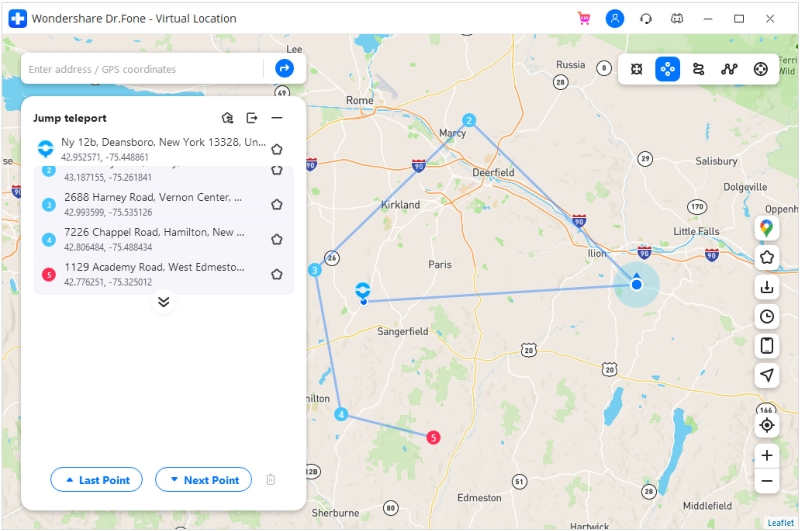
You can also use the "jump teleport mode" to pass by multiple places along a route.
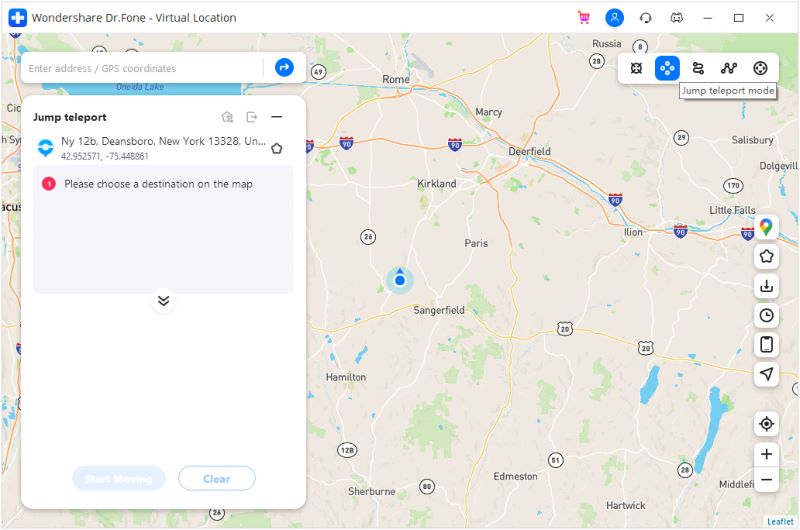
1. Select the "jump teleport mode" (the 2nd one) in the upper right. Then select the spots you want to pass one by one.
2. After selecting the spots, click "Start Moving" to start the movement.
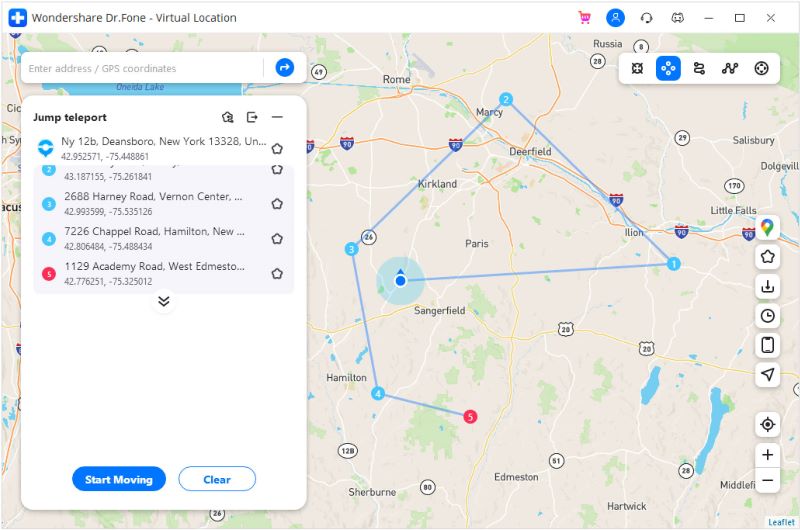
3. You can click the "Last point" or "Next point" button to jump to the last or the next spot.
Part 4. Use joystick for more flexible GPS control
Now Dr.Fone has integrated the joystick feature to the Virtual Location program to spare 90% labor for GPS control. In teleport mode, you can always find the joystick on the lower left part. And you can also click the joystick button in the upper right (the 5th one) to use jotstick feature.
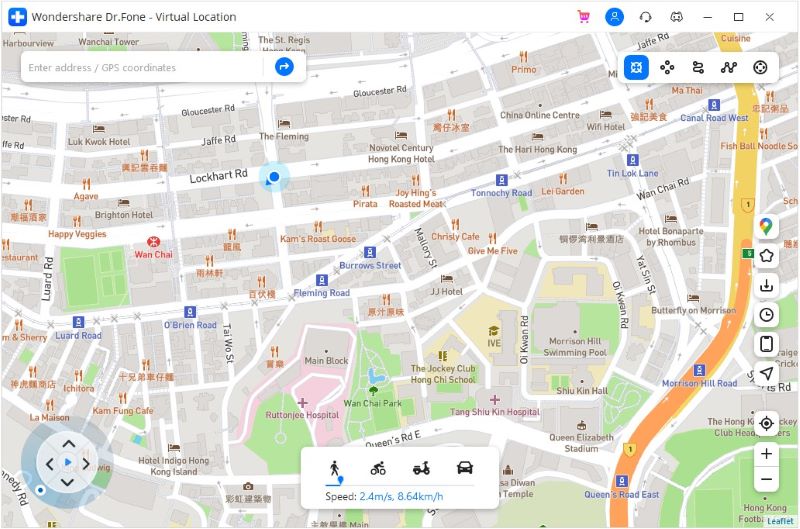
The joystick, like one-stop or multi-stop modes, aims to facilitate GPS movement on the map. But what's better? The joystick allows you to move on the map by changing directions in real-time. Here are the 2 main scenes where you will definitely love the joystick.
- Automatic GPS movement: Click the Start button in the middle and the automatic movement starts. Then just change the directions as you like by 1) clicking the left or right arrows, 2) dragging the spot around the circle, 3) pressing keys A and D on keyboard, or 4) pressing keys Left and Right on keyboard.
- Manual GPS movement: Move forward by constantly clicking the Up arrow in the program, long-pressing the key W or Up on keyboard. Reverse by constantly clicking the Down arrow, or long-pressing the key S or Down on keyboard. You can also tweak the directions using the 4 ways above before moving forward or reverse.
When you are playing games, you may meet the rare thing along the road you walk; you can save it in case you want to see it again or share it with your friends to play along the road together.
Part 5 :Export and Import GPX to save and share the special road or place
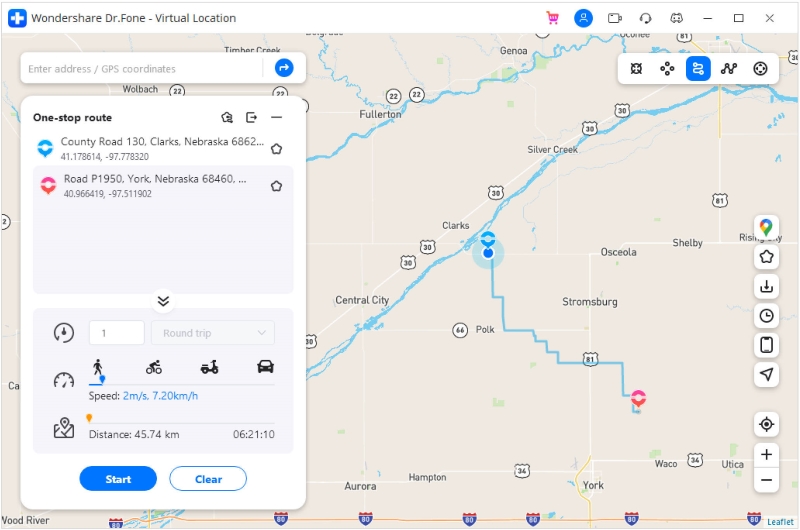
1: Click the export button to save the path as gpx file.
Drfone - virtual Location (iOS/Android) supports saving the customized route after using the one-stop mode, multi-stop mode or jump teleport mode, on the left sidebar, you will see the “export” icon.
2: Import the shared gpx file to Dr.Fone - virtual Location (iOS/Android)
Once you get the gpx file from your friends or downloaded it from other website, you can import it from your computer. On the main screen, click the “Import” button on the bottom right.
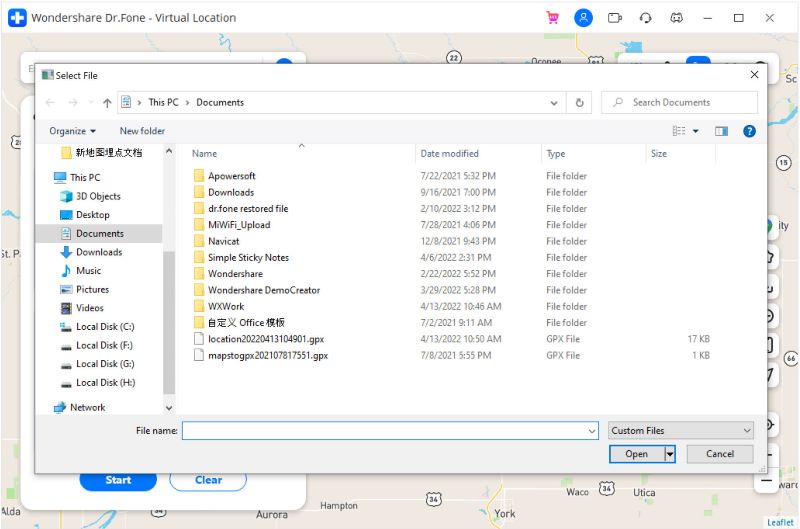
Take a while to import the gpx file and do not turn off the screen.
Part 6 :How can I add my route as a favorite?
The historical record is limited to recording all your route. If you find a very valuable road and virtual location enables to add it to favorites. So you can open it anytime!
1: Add any spots or routes into your favorites
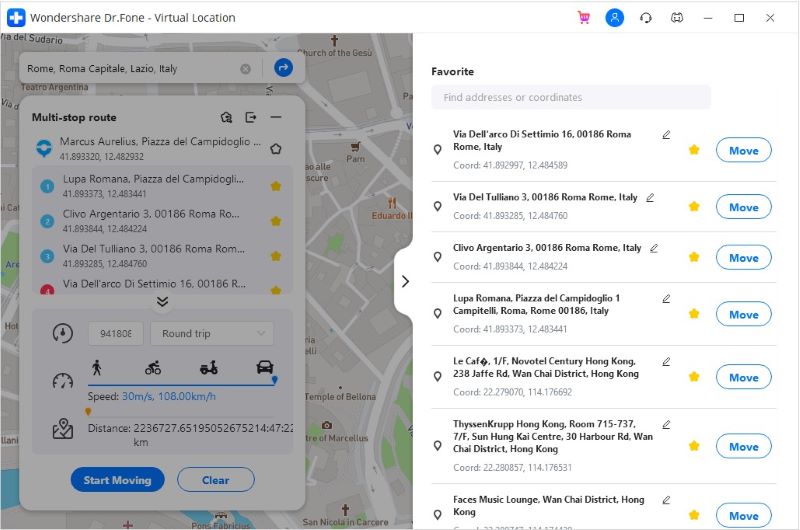
On the virtual location screen, you can see the routes you have set on the left sidebar, click the five-star beside the routes to add them to your favorites.
2: Search and Find from your favorites.
After you collected the favorite route successfully, you can click the five-star icon on the right sidebar to check how many routes you have added or cancel them. Click the “ Move” button, and you can walk along with the favorite route again.
