

Find out here the most complete Dr.Fone guides to easily fix the problems on your mobile. Various iOS and Android solutions are both available on the Windows and Mac platforms. Download and try it now.
 Data Recovery (iOS)
  System Repair (iOS)

 Phone Backup (iOS)
  WhatsApp Transfer (iOS)
 - Transfer WhatsApp from iOS to Android/iOS
- Backup & Restore WhatsApp
- Backup & Restore Kik
- Backup & Restore Viber
- Backup & Restore LINE
- Backup & Restore WeChat
 Data Eraser (iOS)
  Screen Unlock (iOS)


Dr.Fone - WhatsApp Transfer (iOS):
- Part 1. Backup Viber Chats on iPhone/iPad to Your Computer
- Part 2. View and Restore or Export Viber Chats on Computer
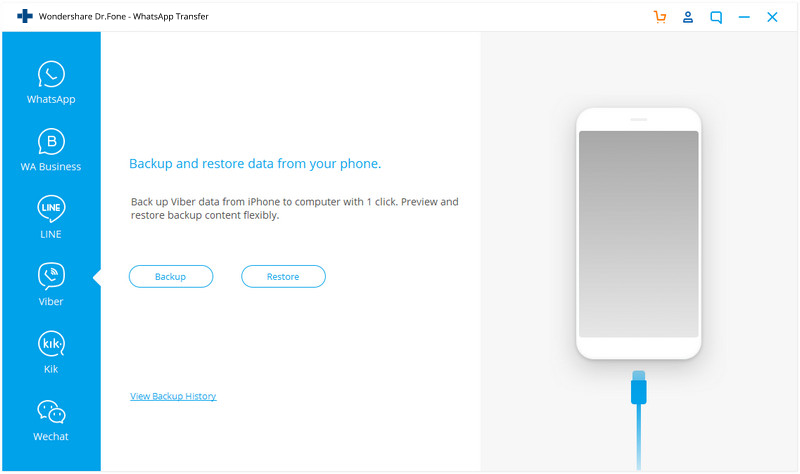
After launching the Dr.Fone on your Mac or Windows, then you'll see the screen as follows.

* Dr.Fone Mac version still has the old interface, but it does not affect the use of Dr.Fone function, we will update it as soon as possible.
Next, let's check how to back up Viber chats on iOS devices one by one.
Part 1. Backup Viber Chats on iPhone/iPad to Your Computer
Step 1. Connect your device to the computer
Then connect your iPhone/iPad to the computer. Once your device is detected, go to the "WhatsApp Transfer" tab. Then select Viber > Backup to backup your Viber chats.
Step 2. Begin to backup your Viber chats
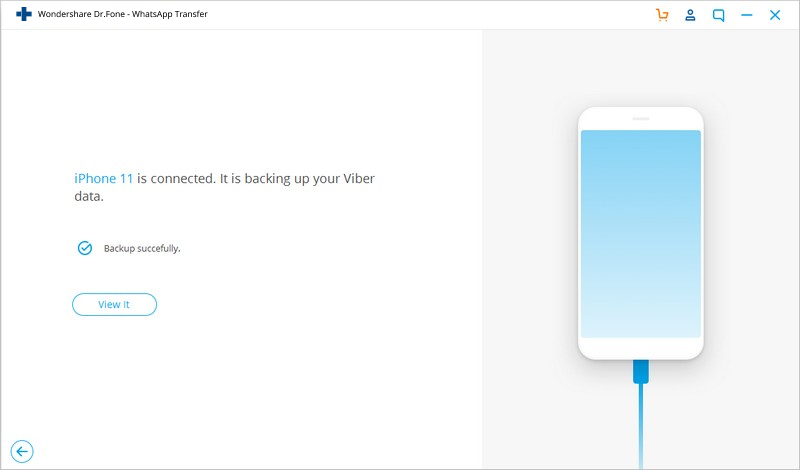
After you click on the "Backup" button, the program will start working automatically. Wait until the process is complete. During the whole process, keep your device connected all the time.
When the backup process ends, you will see the screenshot below. You can click the "View it" button to see the previous Viber backup history.
If you want to check the backup file and export the content, you can continue reading.
Part 2. View and Restore or Export Viber Chats on Computer
Step 1. View your backup files
To check the Viber backup file's content, you can click on the "To view the previous backup file >>" on the previous screen.
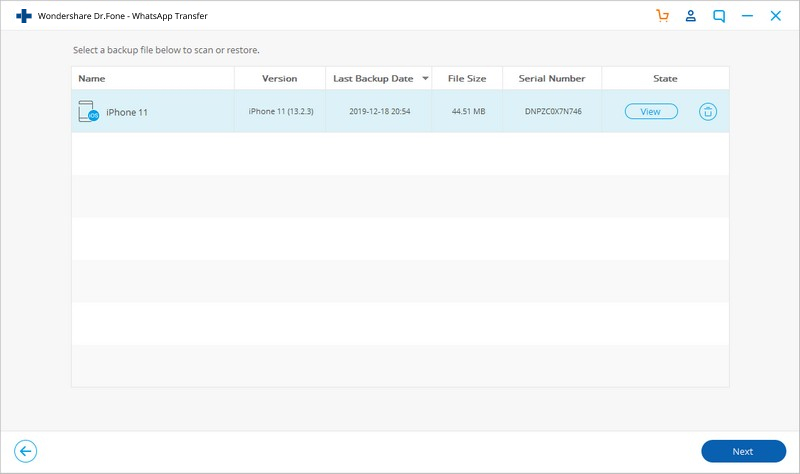
Here you will see all backup files of your Viber chats, Choose the one you want to check and click on the "View" button.
Step 2. Restore or export your Viber chats
After Dr.Fone has scanned out the backup files, you can view your Viber chats on the window. Then click either button in the lower right part to export them to your computer or restore to your device.
