Find out here the most complete Dr.Fone guides to easily fix the problems on your mobile. Various iOS and Android solutions are both available on the Windows and Mac platforms. Download and try it now.
 Data Recovery (iOS)
  System Repair (iOS)

 Phone Backup (iOS)
  WhatsApp Transfer (iOS)
 - Transfer WhatsApp from iOS to Android/iOS
- Backup & Restore WhatsApp
- Backup & Restore Kik
- Backup & Restore Viber
- Backup & Restore LINE
- Backup & Restore WeChat
 Data Eraser (iOS)
  Screen Unlock (iOS)


Dr.Fone - Data Eraser (iOS):
Your iOS device may run much slower than before, or keep displaying error messages that indicate poor performance. In such cases, just use the "Free Up Space" feature of Dr.Fone - Data Eraser (iOS) to organize your photos, or clean up the useless junk like temporary files, app-generated files, log files, etc. in the iOS.
After installing and starting up the Dr.Fone toolkit, connect your iPhone or iPad to PC with the Apple lightning cable, and then select the "Data Eraser" option to begin the space-saving journey.
* Dr.Fone Mac version still has the old interface, but it does not affect the use of Dr.Fone function, we will update it as soon as possible.

- Part 1. Erase junk files
- Part 2. Uninstall useless apps in batch
- Part 3. Erase large files
- Part 4. Compress or export photos
Part 1. Erase junk files
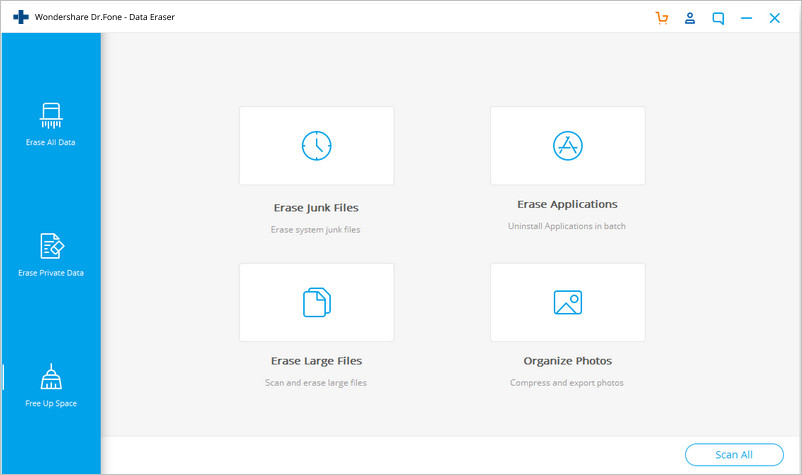
- On the main interface of the Free Up Space feature, click on "Erase Junk File".
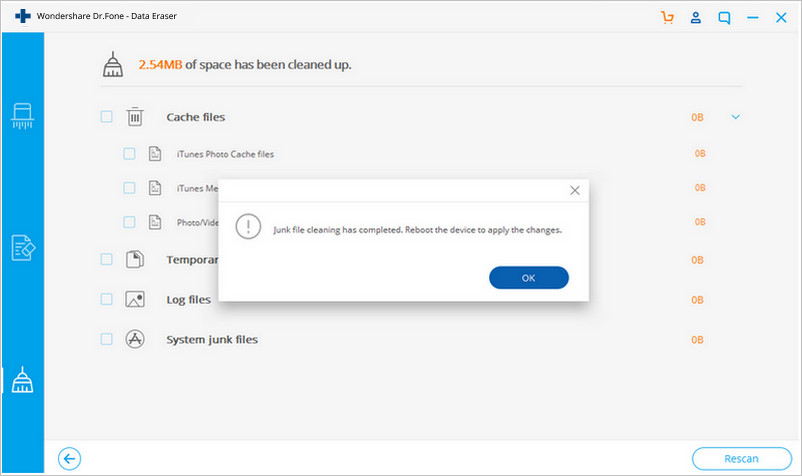
- Then the program will scan and display all the junk files hidden in your iOS system.
- Select all or some of the junk files, click "Clean". All the selected iOS junk files can be wiped in a while.

Part 2. Uninstall useless apps in batch
You may have installed too many apps on your iPhone and many of them are no longer needed. Then this feature can help you uninstall all the useless apps at a time.
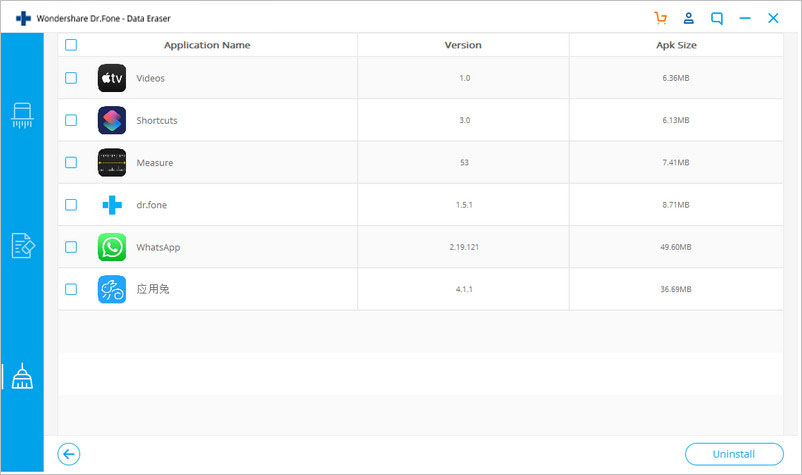
- Go back to the main window of the Free Up Space option, click on "Erase Application".
- Select all the useless iOS apps and click "Uninstall". Then all the apps will vanish away together with the app data shortly.
Part 3. Erase large files
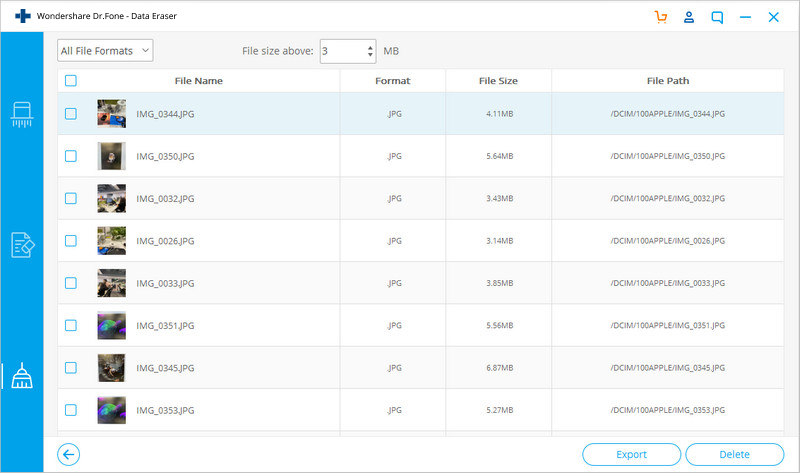
- Click on "Erase Large Files" from the interface of the Free Up Space module.
- The program starts to scan for all the large files that are slowing down your iOS system.
- When all the large files are detected and shown, you can set the options on the top to display specific file formats or files larger than a specific size.
- Select large files that are confirmed useless, and click the Delete button. You can also export the large files to your computer for backup before deleting them.

Note: The displayed large files may contain iOS system component files. Deleting such files may cause your iPhone or iPad to malfunction. See how to fix a malfunctioning iPhone or iPad.
Part 4. Compress or export photos
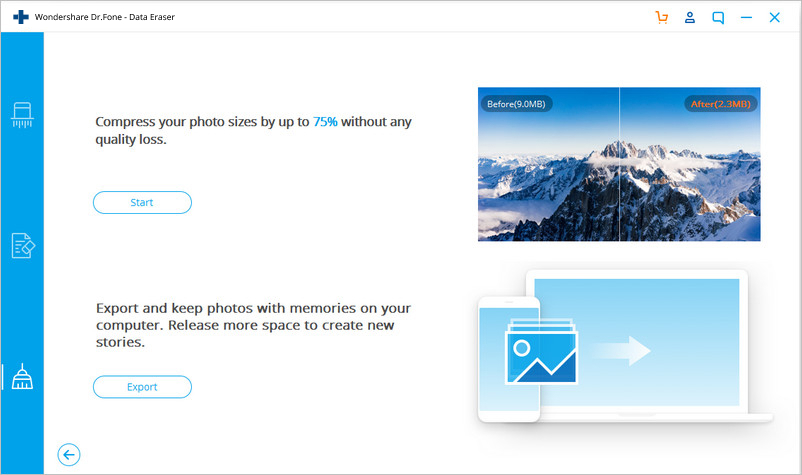
- Choose "Organize Photos" after the main screen of the Free Up Space feature shows up.
- In the new interface, you have 2 options for photo management: 1) compress the photos losslessly and 2) export photos to PC and delete from iOS.
- To compress your iOS photos loselessly, click on "Start".
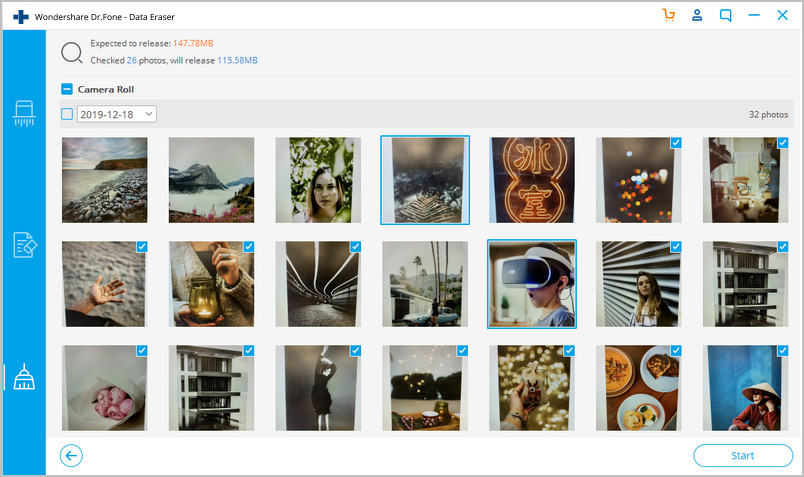
- When the photos are detected and displayed, select a date, select the photos to be compressed, and click "Start".
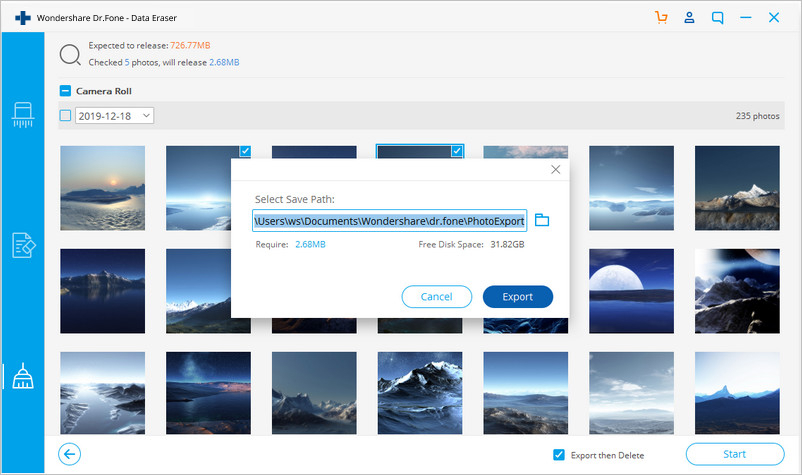
- If not enough space has been freed up on your iOS device, you need to export photos to PC and delete from your iOS device. Click "Export" to continue.
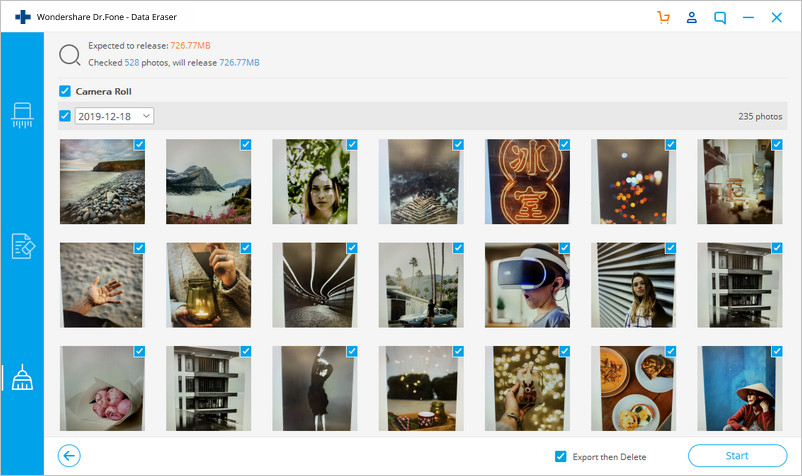
- After the scanning, photos of different dates are displayed on the screen. Then select a date, select some or all of the photos, and click "Start".
- Select a directory on your PC and click "Export".
Note: The "Export then Delete" option should be checked. Otherwise, Dr.Fone - Data Eraser (iOS) will retain the photos on your iOS without freeing up any space.